Collect payments with Stripe and Airtable

Create new records in Airtable every time a customer or client makes a purchase. Use Fillout forms to make a Stripe payment page and connect it to Airtable.

Video tutorial

Video preview

How it works

1. Create a payment form

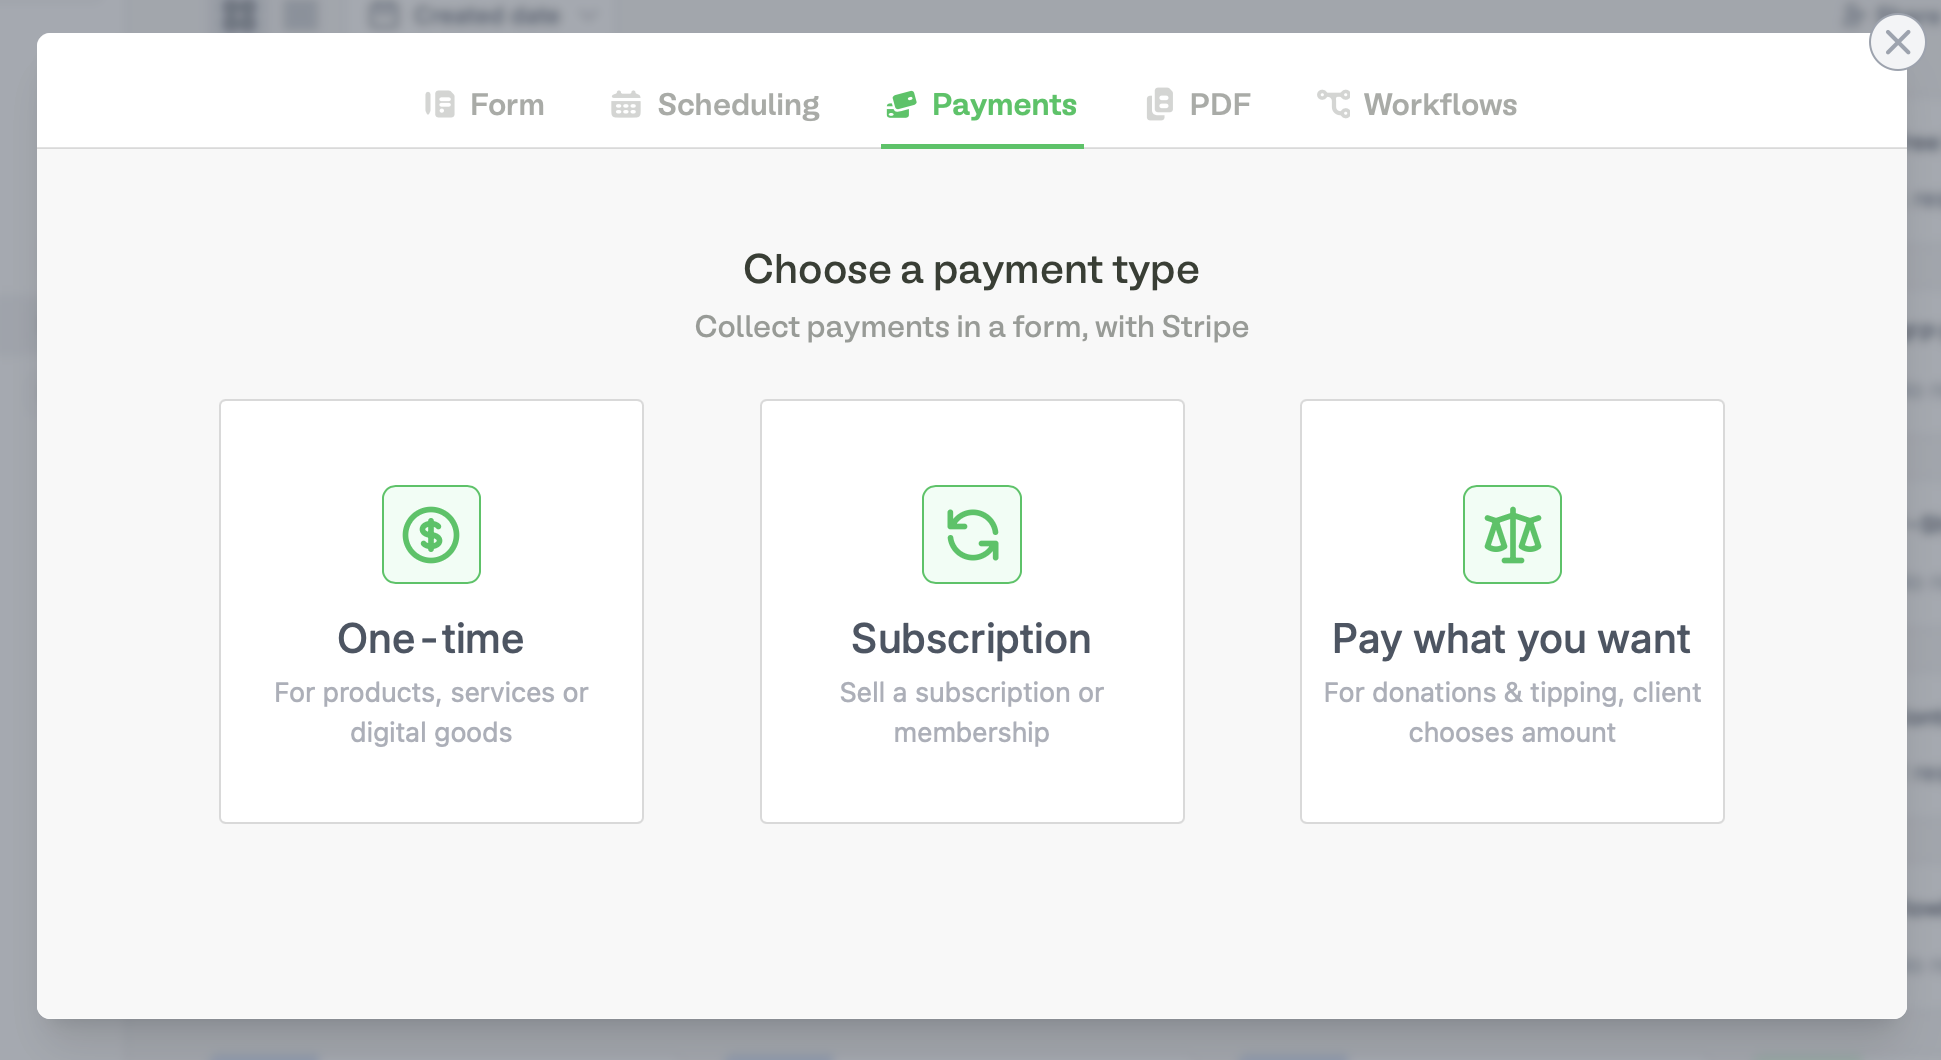
Click + Make a Fillout on your home page followed by Payments. Choose your payment type and enter the details.
notion image
ย 
Alternatively, you may create a Form, and add a Payment page in it. See this guide for more information.

2. Edit the product details

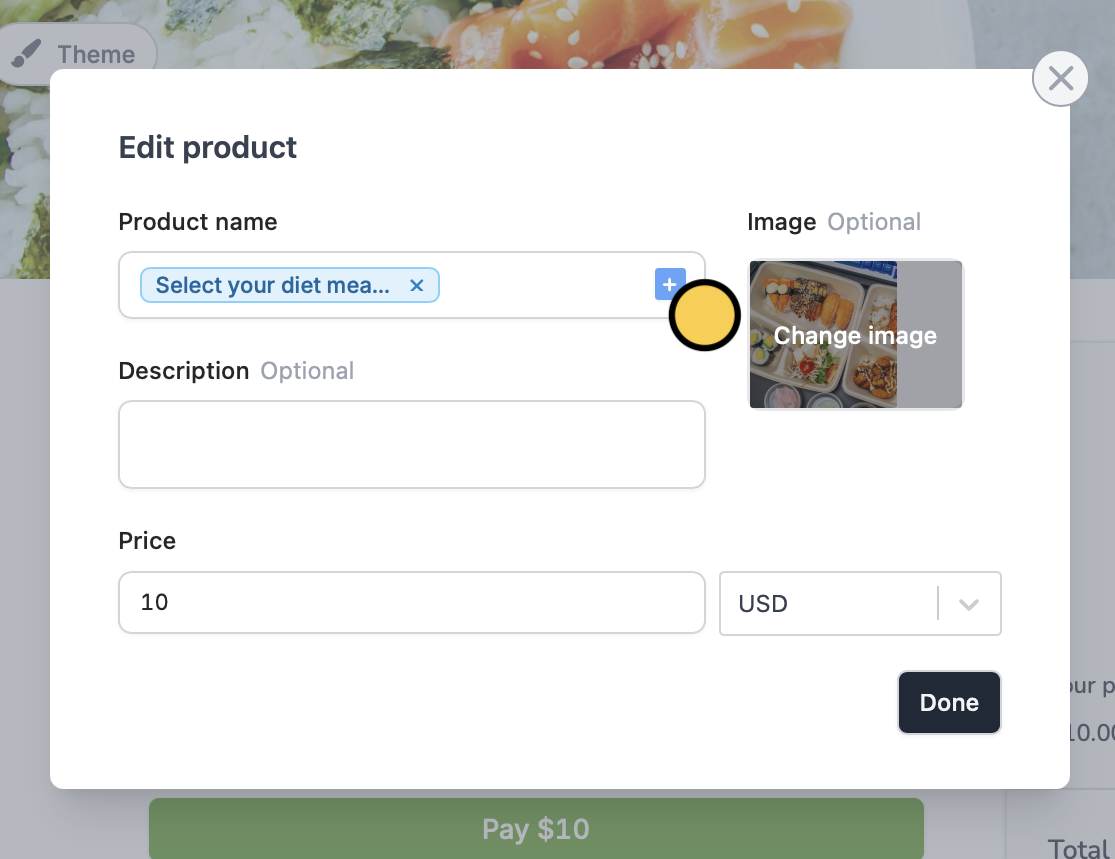
Click Product, and change the details as you see fit.
notion image
ย 
You can also click the blue + icon to reference a selection field in your form where you asked customers to pick a product or make the price dynamic.
notion image

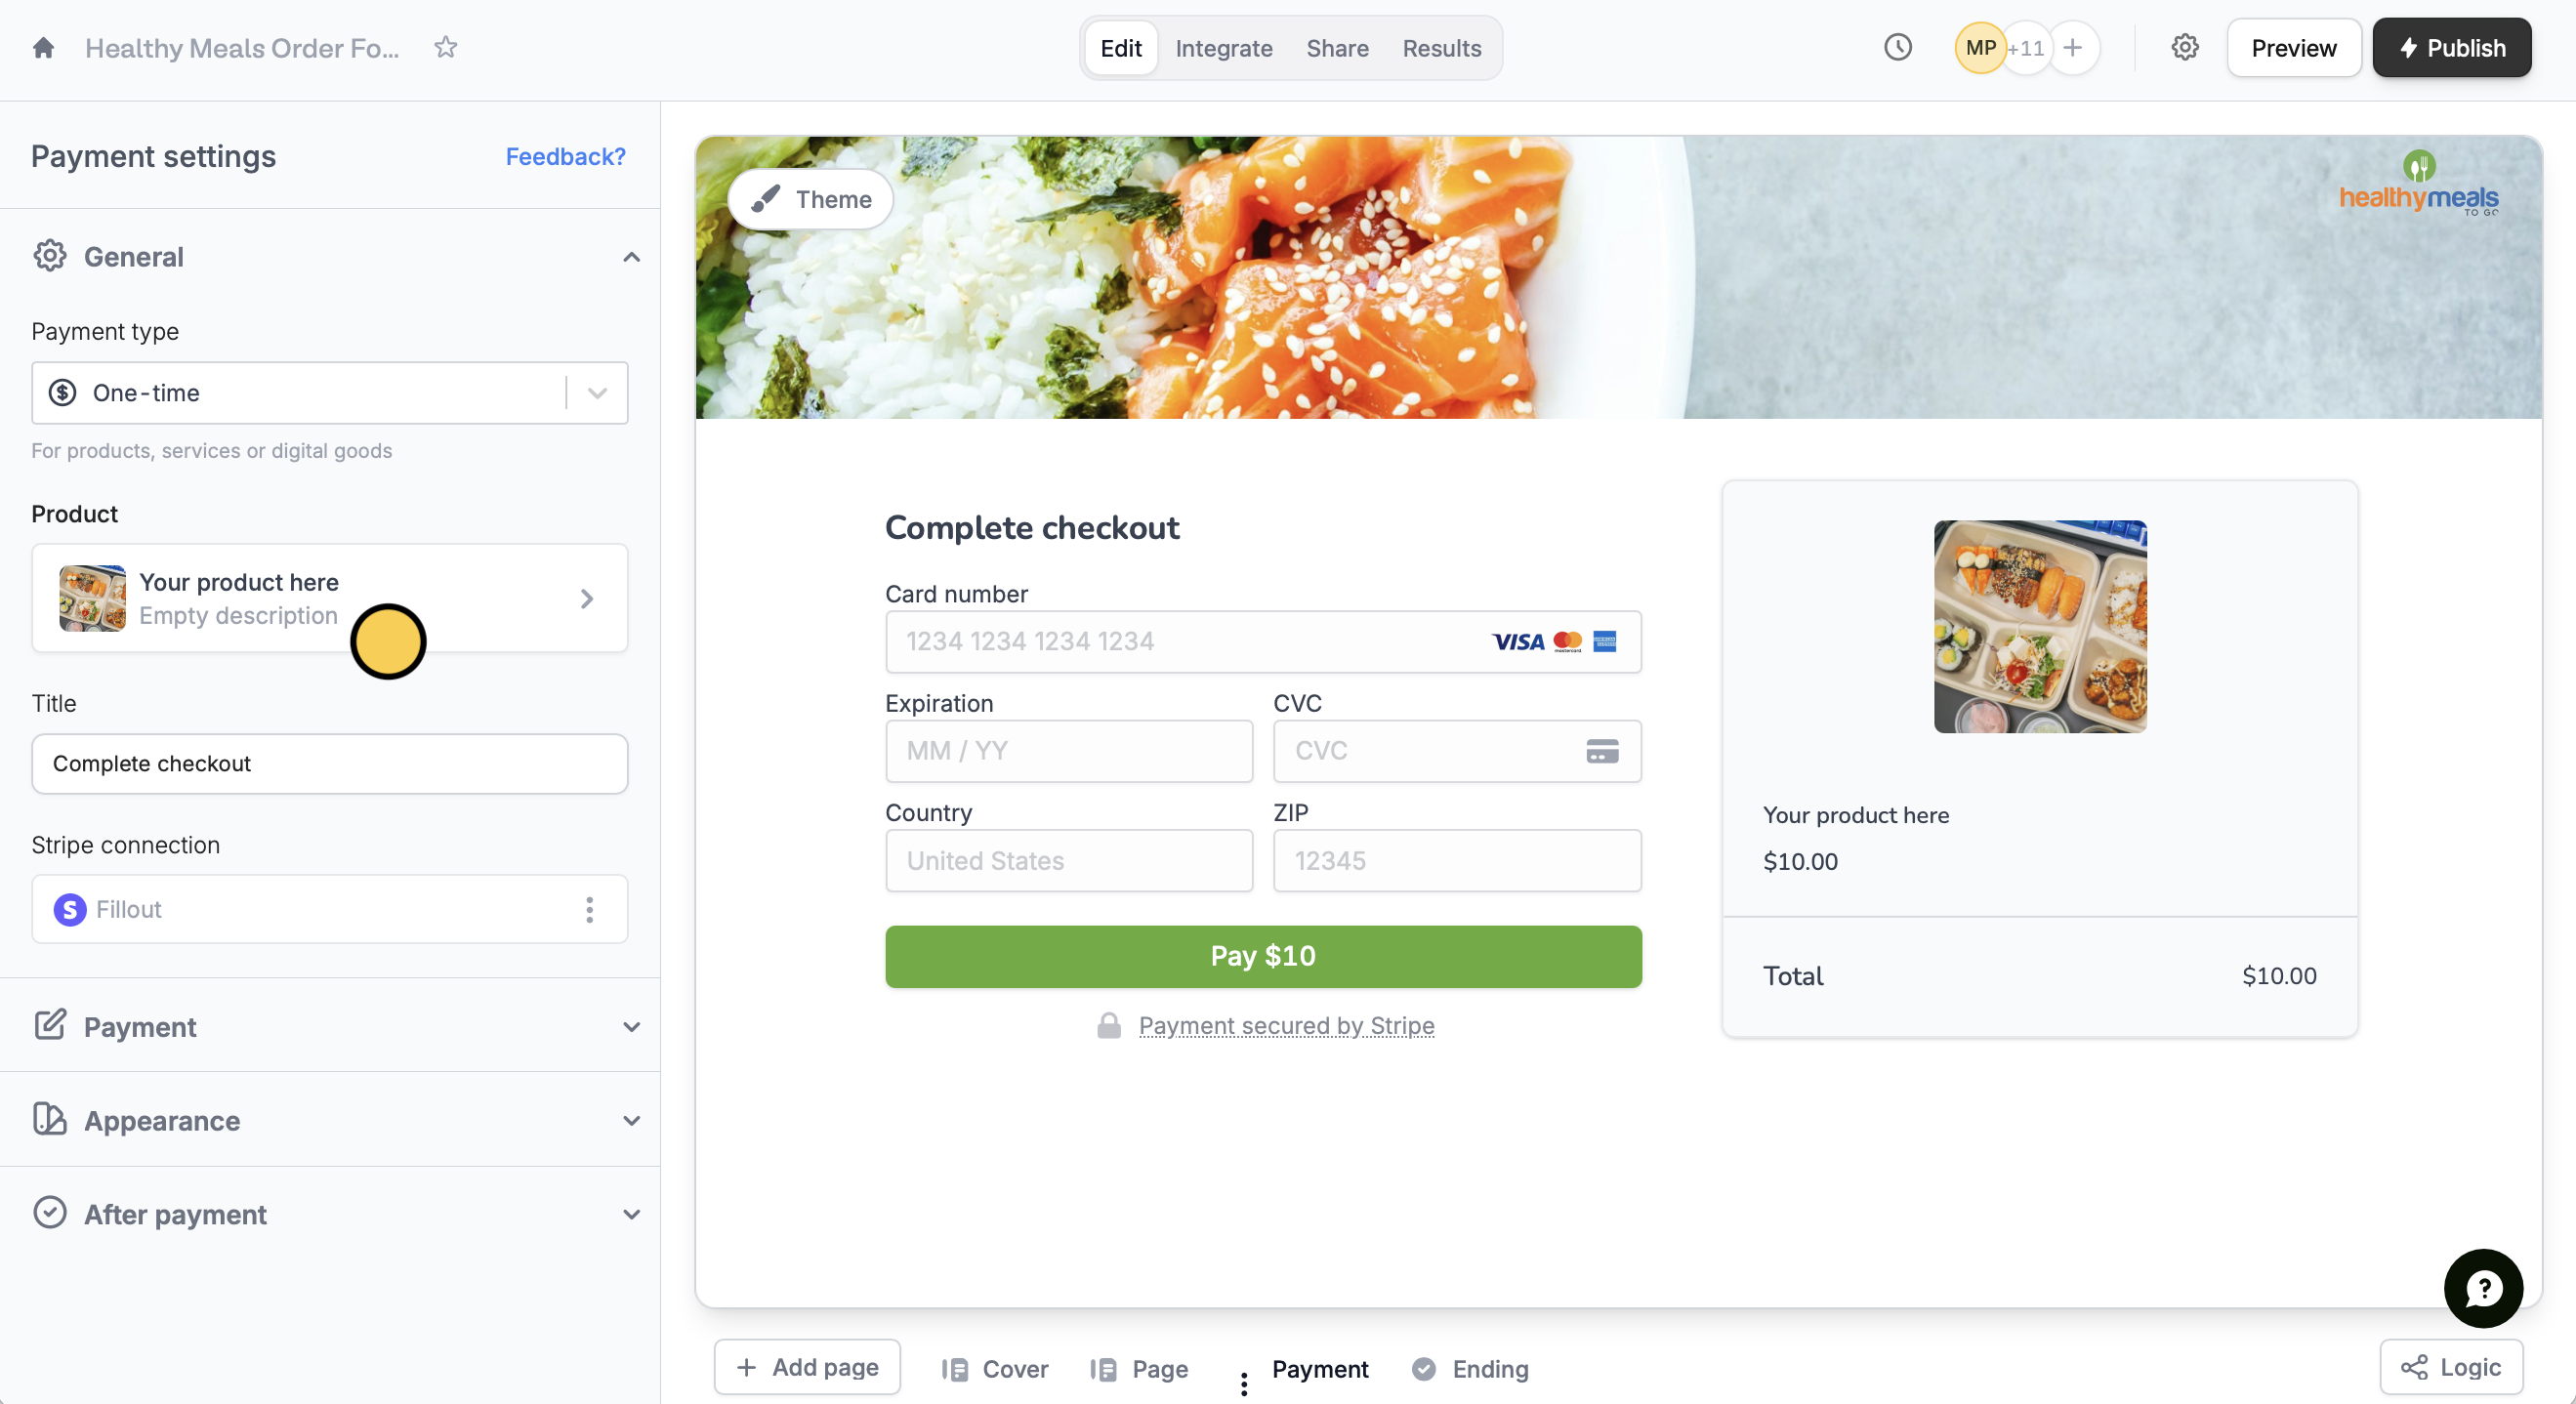
3. Update payment settings

Switch payment type, add discount codes, collect email, pre-fill fields, choose payment methods, and more through the left-hand panel settings. Check this article to learn more.
notion image
ย 
๐Ÿ’ก
Tip: You can toggle the test mode switch on the upper right side of your Stripe account to preview the payment form without needing to make a payment.

4. Connect the form to an Airtable

Go to Integrate in the top menu and click Airtable. Next, connect to your Airtable account and choose a base and table.

5. Map Airtable columns to form payment fields

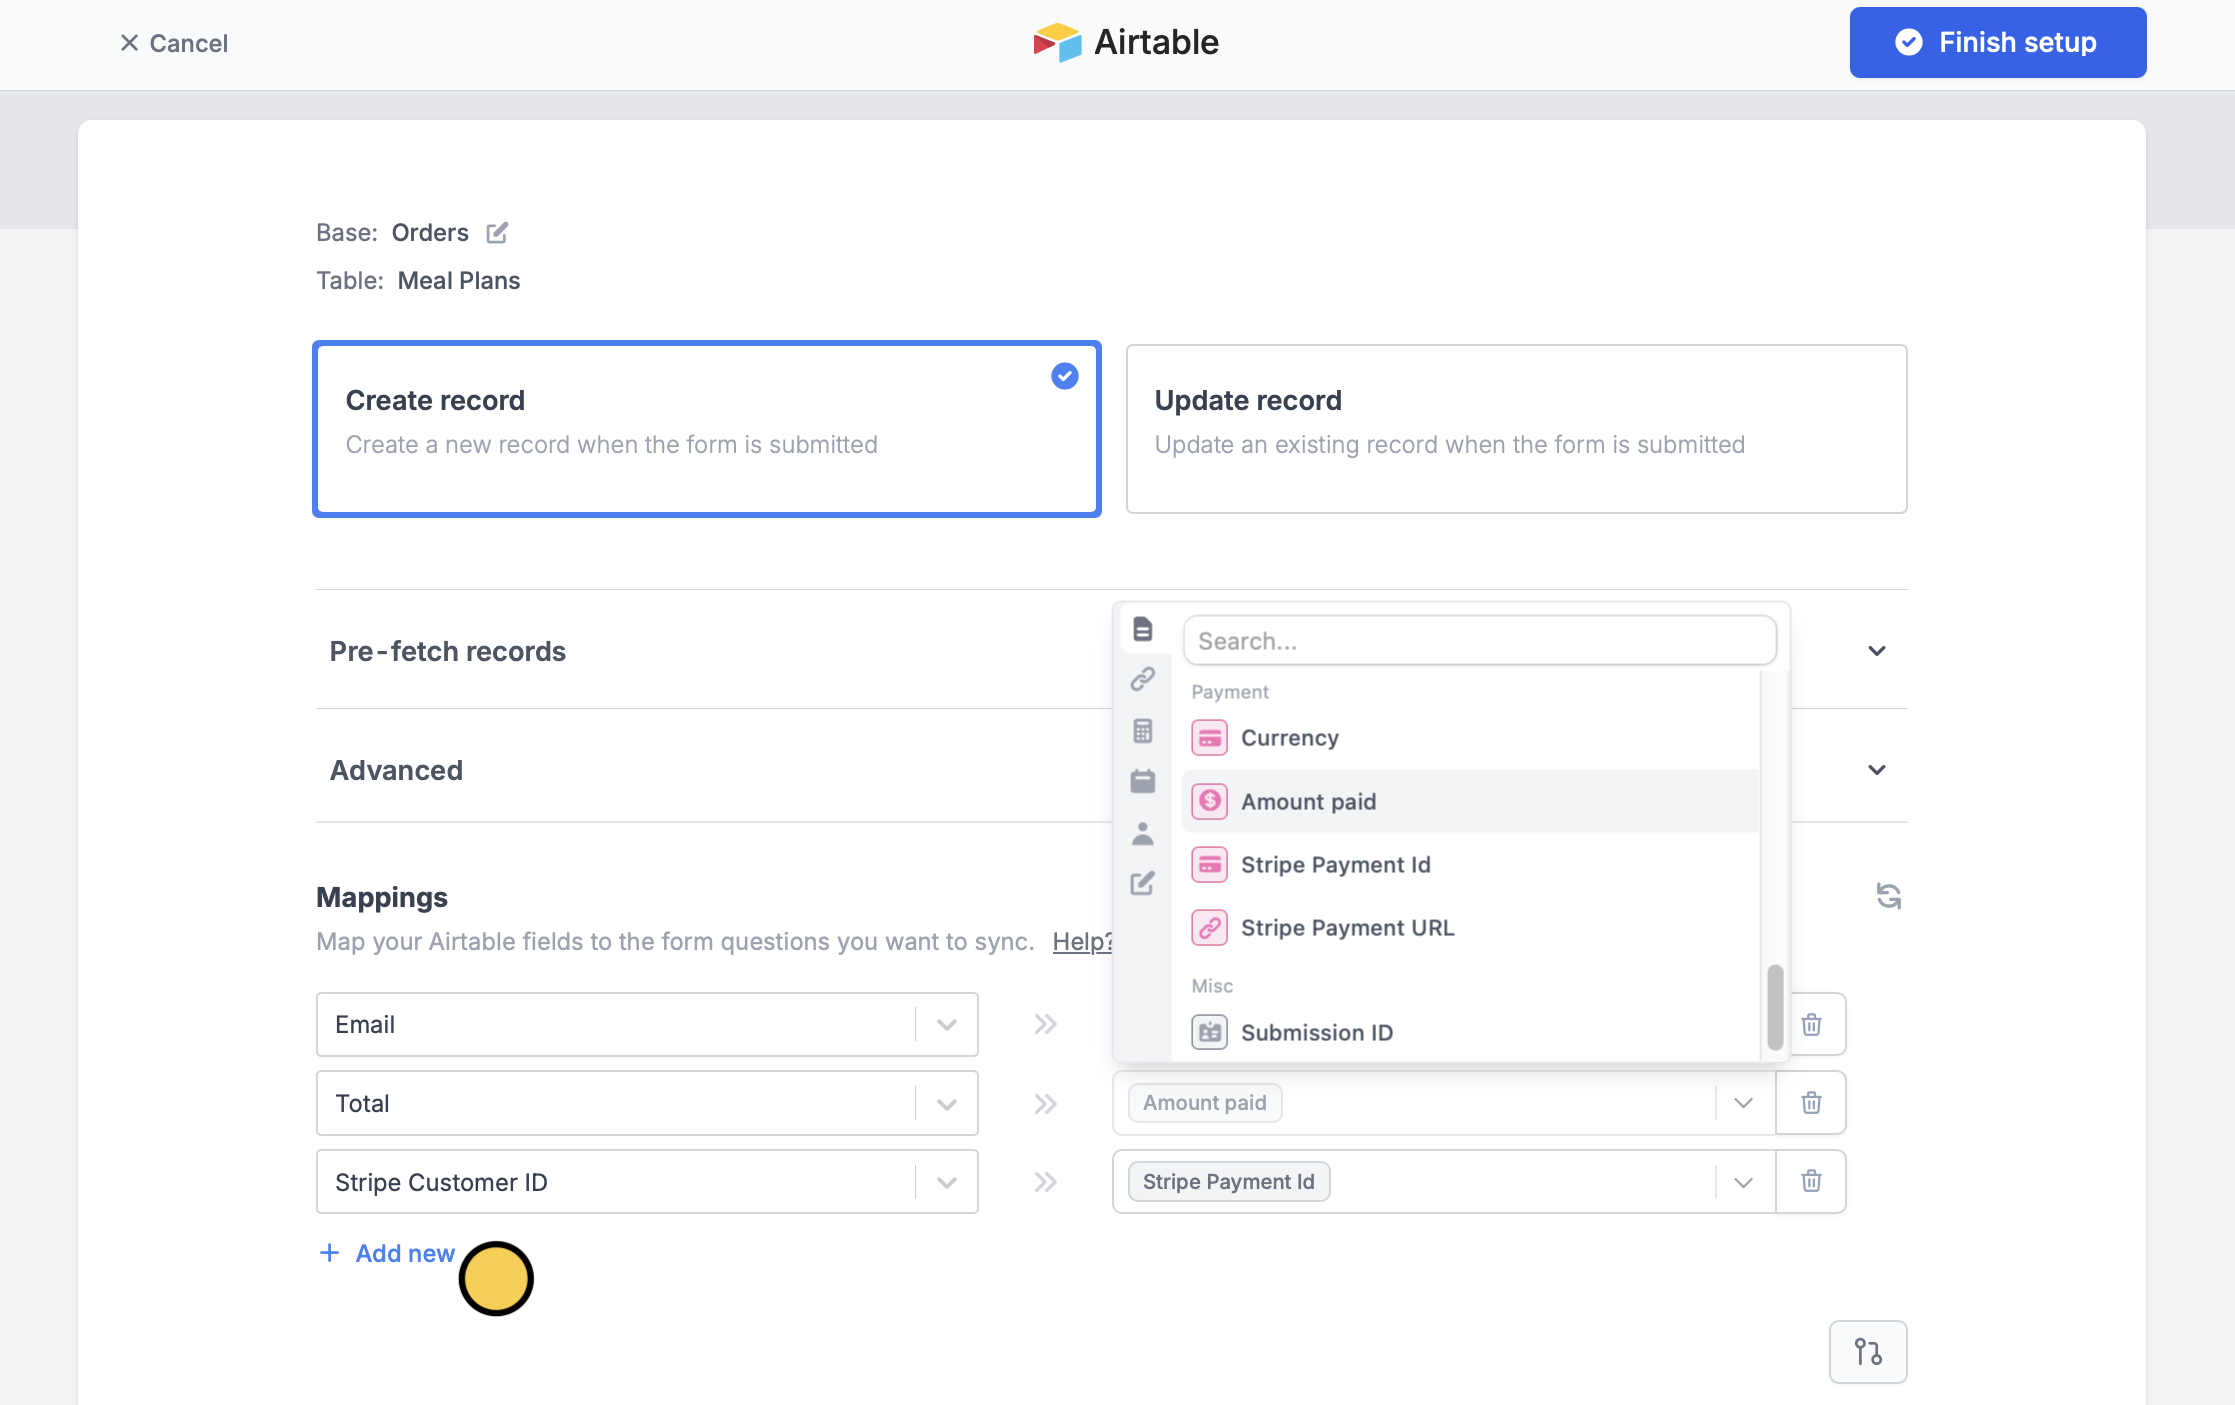
Under Mappings, click + Add new. Then, click Pick reference to check the payment fields. Go to your Airtable base, and create one column per payment field.
notion image
ย 
Click โ†บ or the refresh icon. Then reference your new Airtable columns to their corresponding payment field in Fillout.
notion image

6. Publish and share your form

Thatโ€™s it! Click Publish on the upper right corner and share the link or embed it on your website. Youโ€™ll now get a new row filled out every time someone completes a purchase.

Related articles

๐Ÿ’ณ
Payment page
๐Ÿ›’
Create a dynamic payment page
How to create an Airtable form