Documentation Index
Fetch the complete documentation index at: https://fillout.com/help/llms.txt
Use this file to discover all available pages before exploring further.
What is Airtable?
Airtable is a cloud-based collaborative database and project management platform that combines the simplicity of a spreadsheet with the power of a database.Video tutorial
Check out this tutorial on using Fillout to create or update an Airtable base.How it works
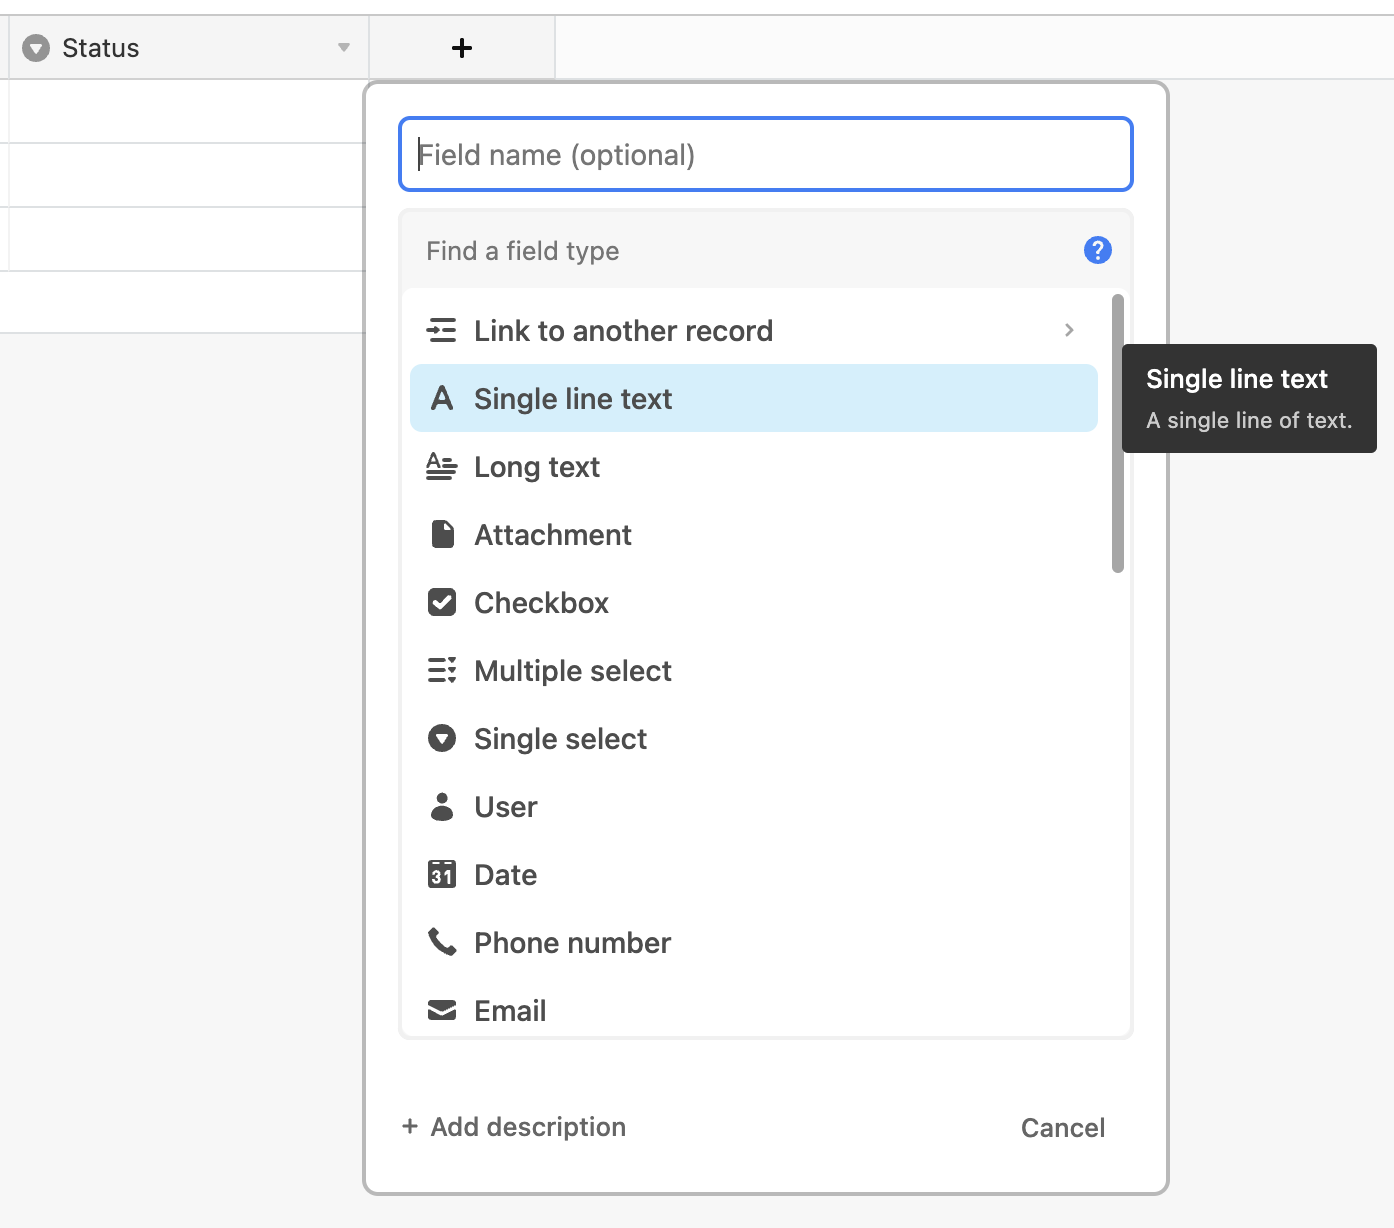
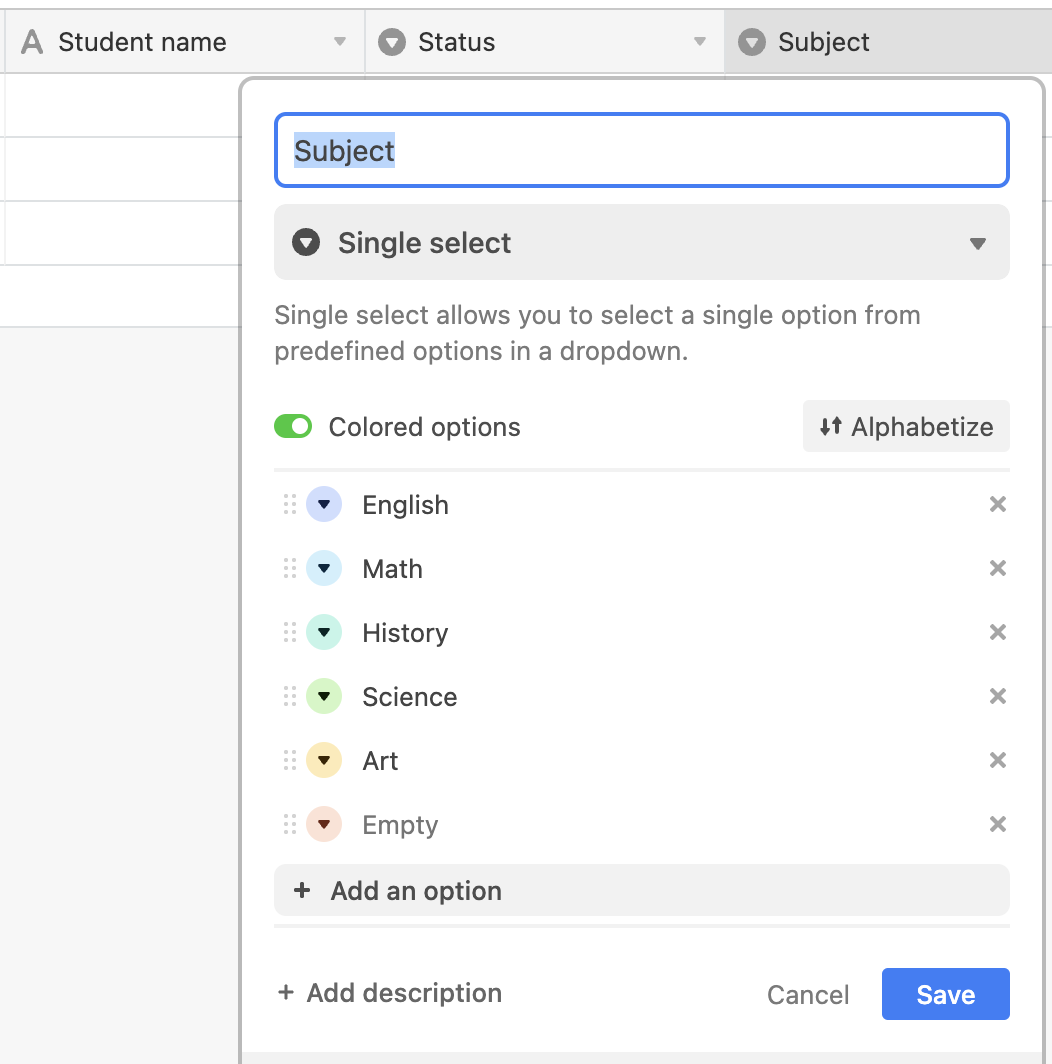
Create your database in Airtable
If you already have your base created in Airtable, you can skip this step.
Create on the lower left corner of your dashboard.
Connect your database to your Fillout form
On your Fillout dashboard, create a form. Choose to 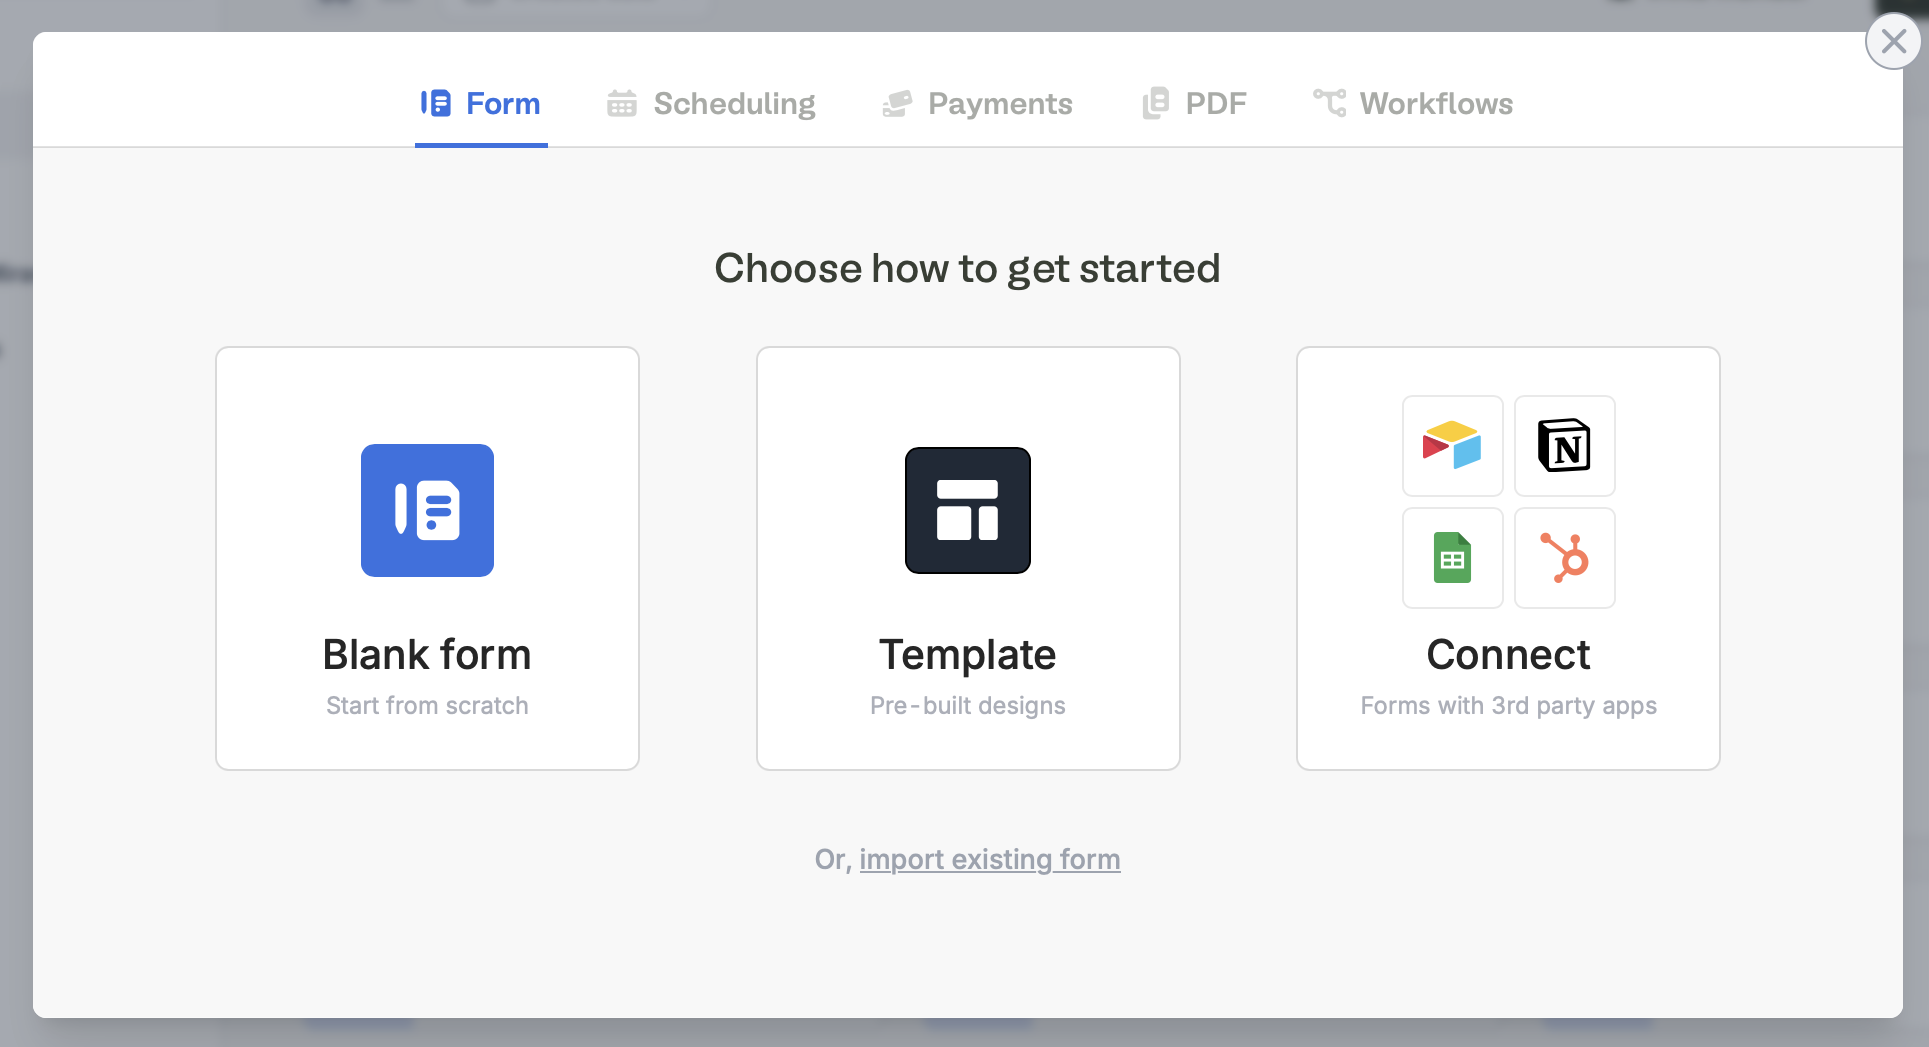
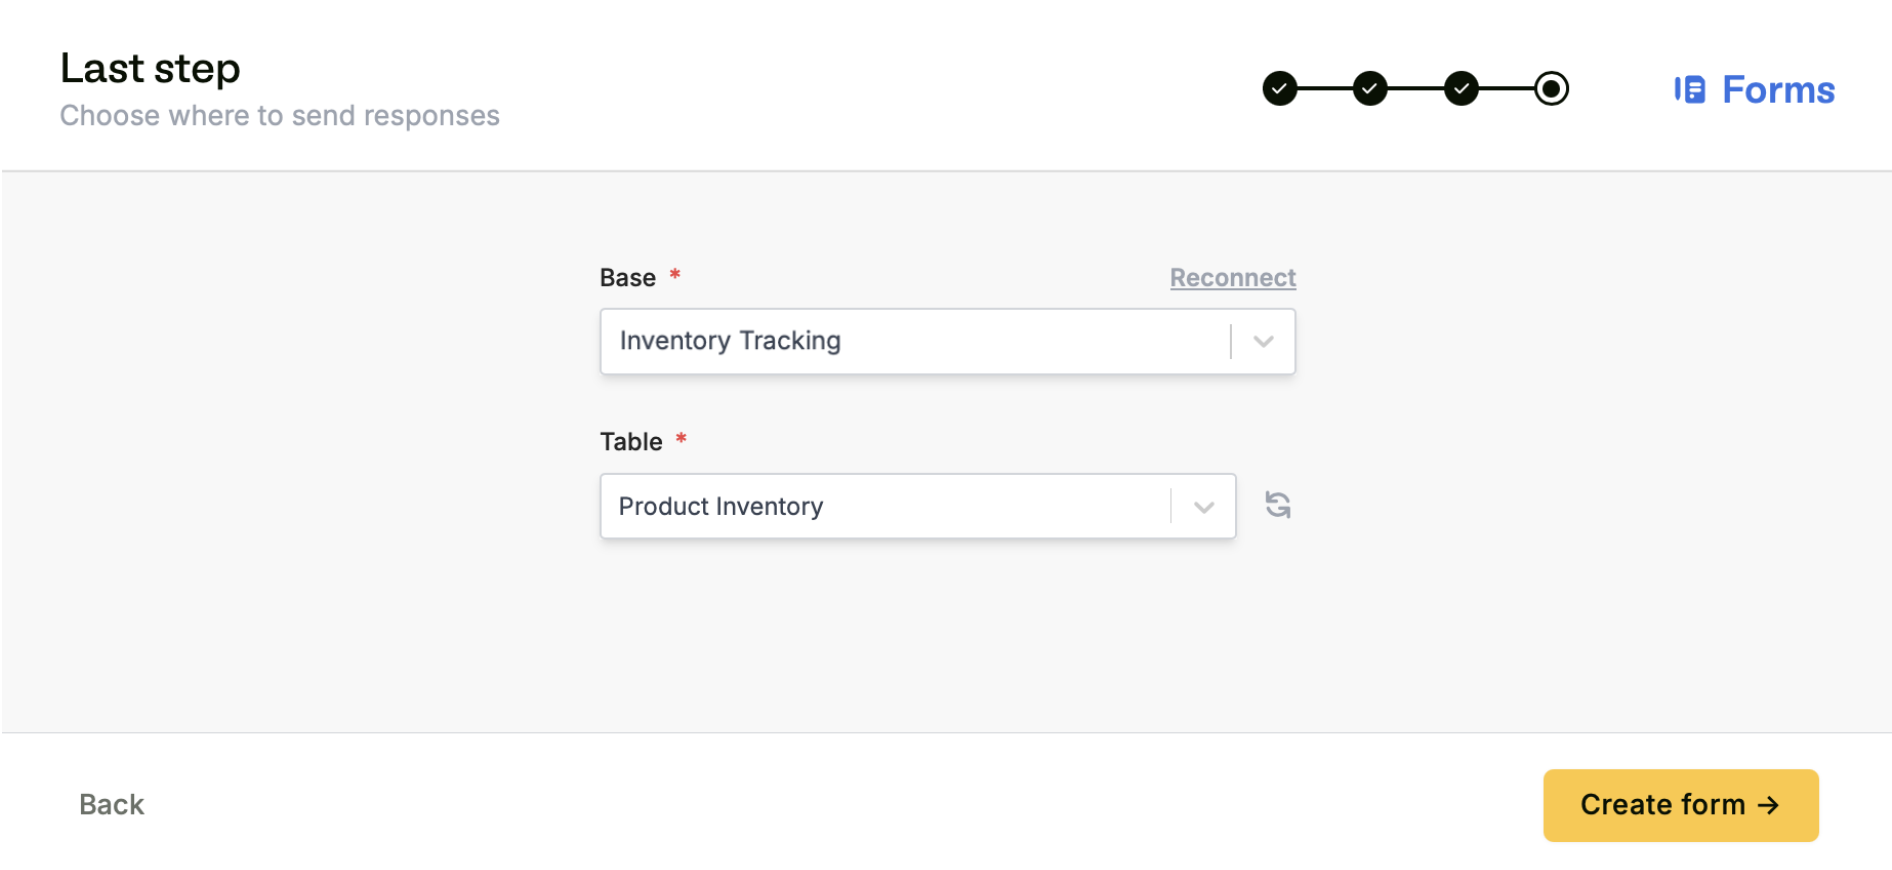
Connect to Airtable.Connect to Airtable.After connecting, you can switch to use personal access tokens via the Integrations page.
+ Create form.Map your questions
Fillout pulls questions and answer options from your Airtable base. Your 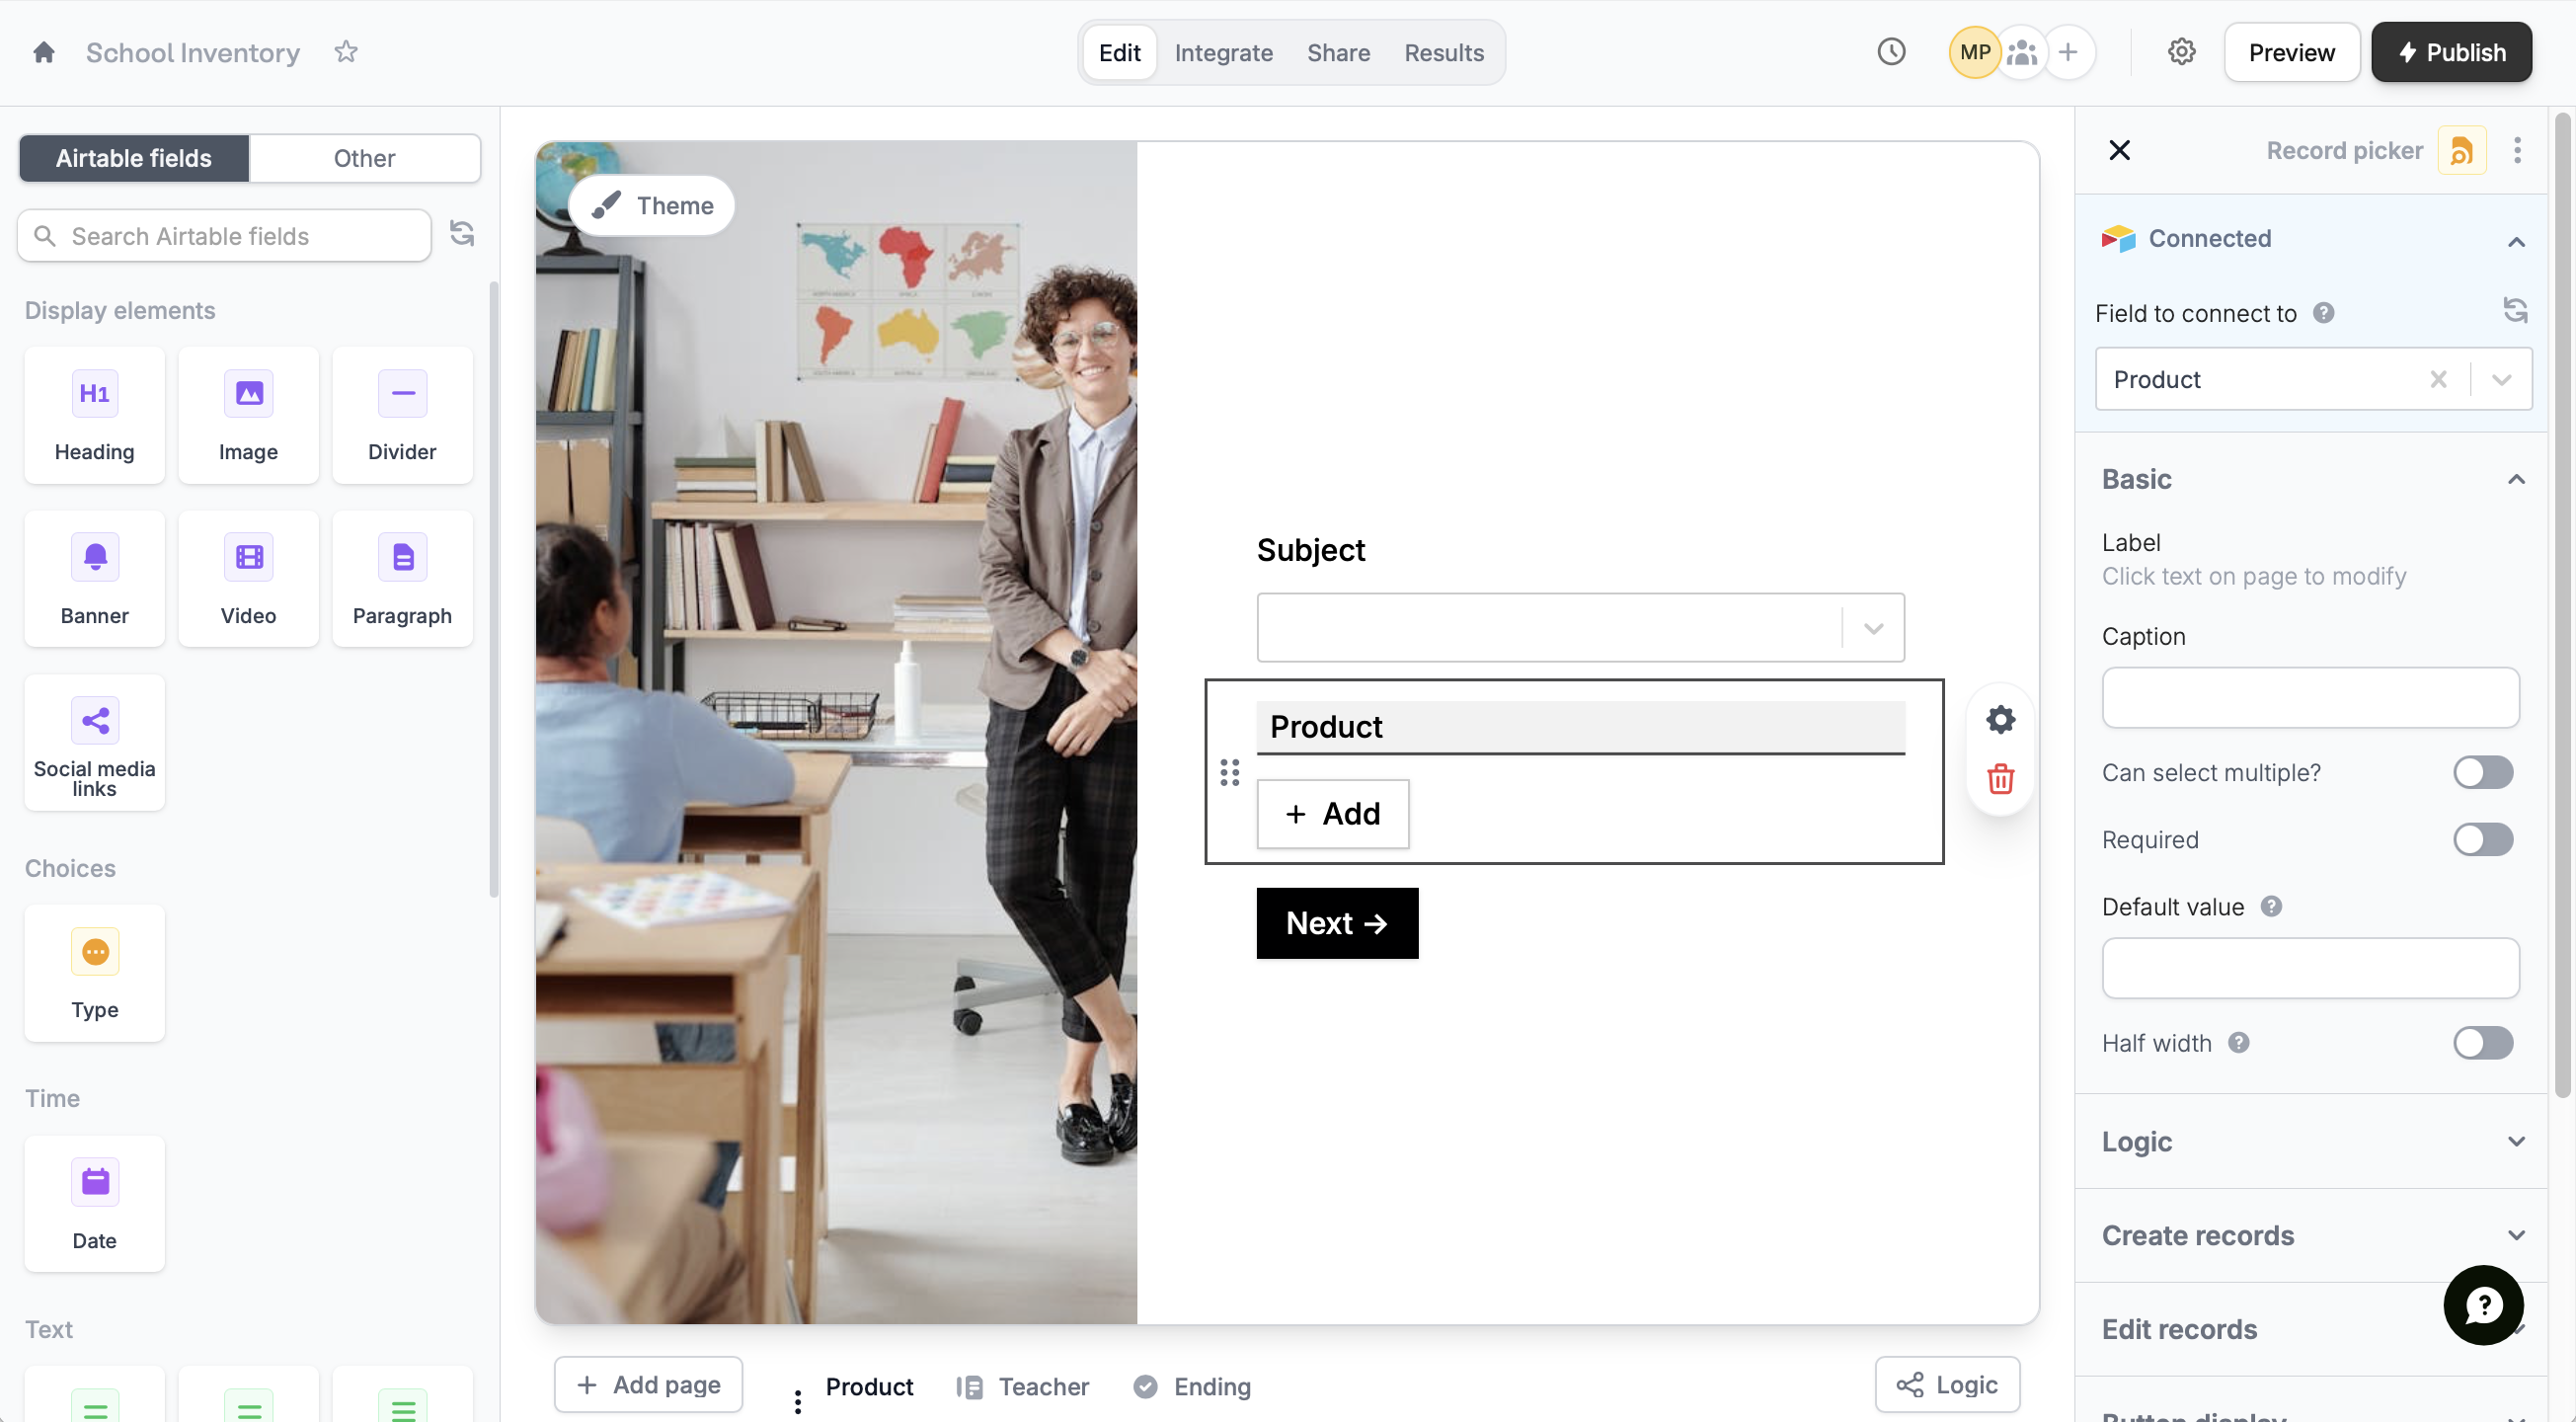
Airtable fields now appear in the left sidebar. Simply drag & drop to build your form.Specify a condition
You can run your integration only when a specific condition is met. Check out this guide.Airtable specific guides
Update Airtable records
Edit existing records and pre-fill fields.
Create new linked Airtable records
Let respondents create records from your form.
Prevent duplicates
Stop duplicate entries from being saved to your Airtable bases.