> ## Documentation Index
> Fetch the complete documentation index at: https://fillout.com/help/llms.txt
> Use this file to discover all available pages before exploring further.
# Scheduling page
> Let respondents book a time slot on your calendar using Fillout Scheduling, Calendly, or Cal.com, directly from your Fillout form. Optionally pre-fill fields and save booking data to your integrations.
export const SupportBanner = () => {
const titleId = React.useId();
return ;
};
To collect one or more dates without requiring respondents to schedule on your calendar, add [date fields](https://www.fillout.com/help/date-range) instead.
## How to add a scheduling page
Click `+ Add page` and choose **Scheduling**.
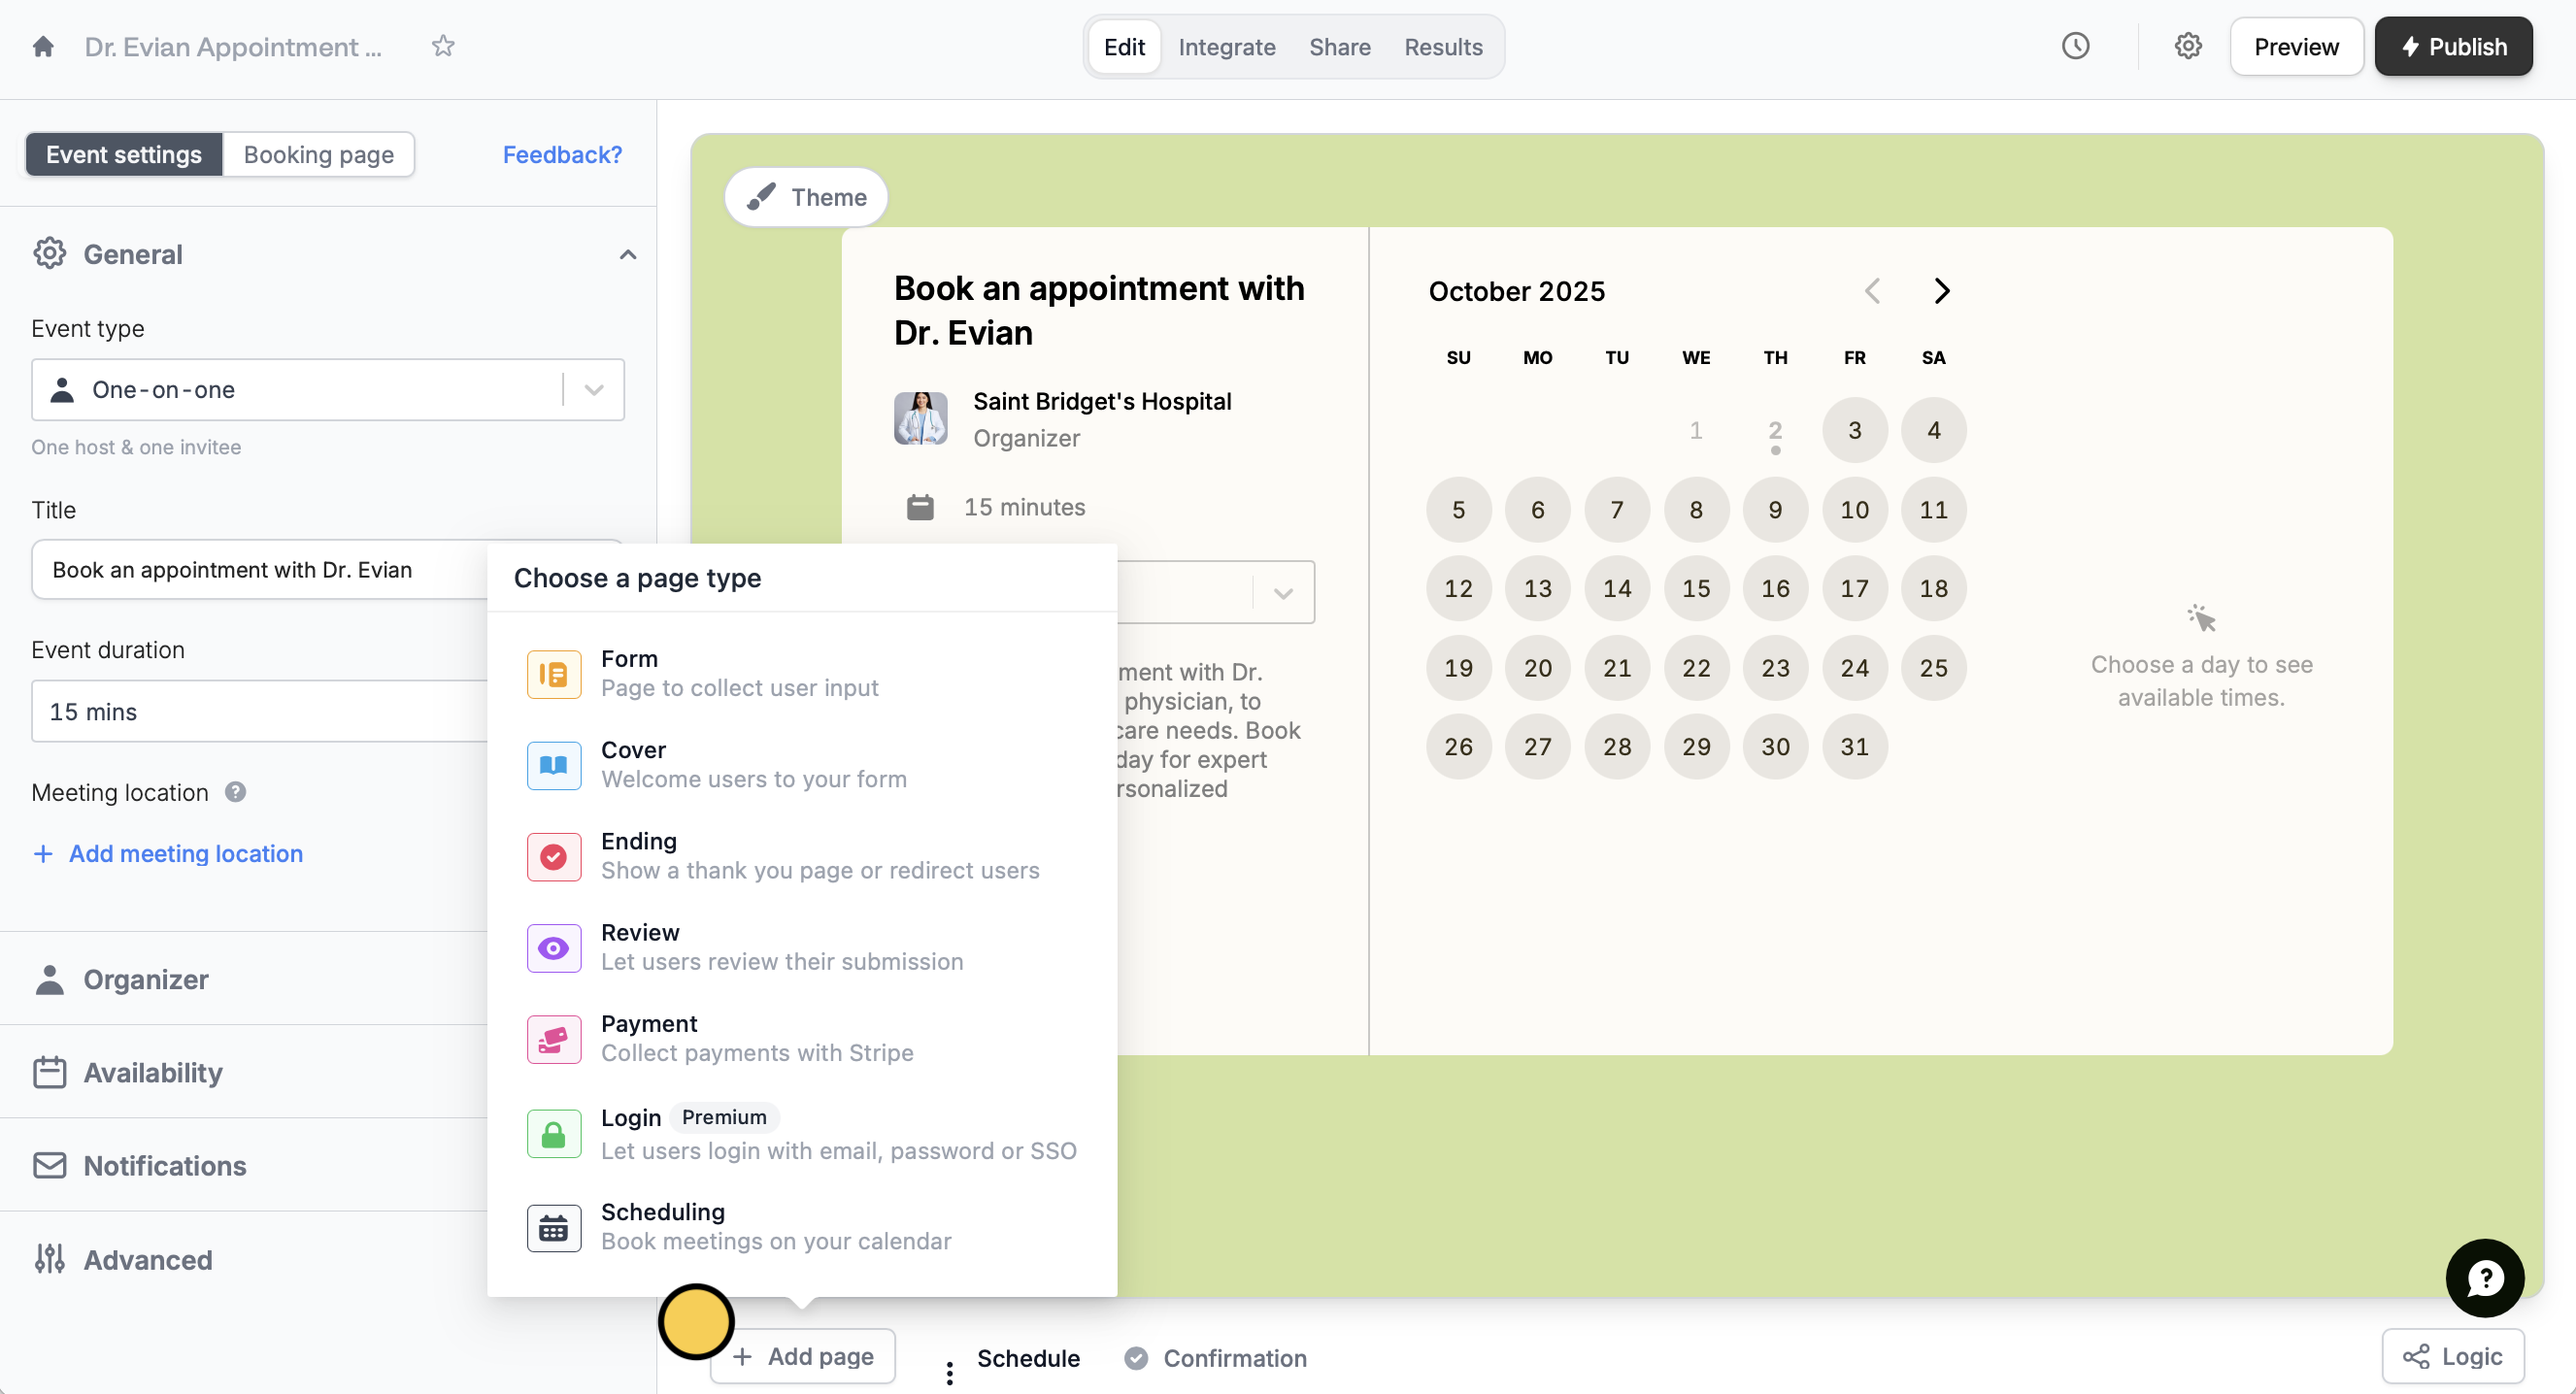 Choose your scheduler.
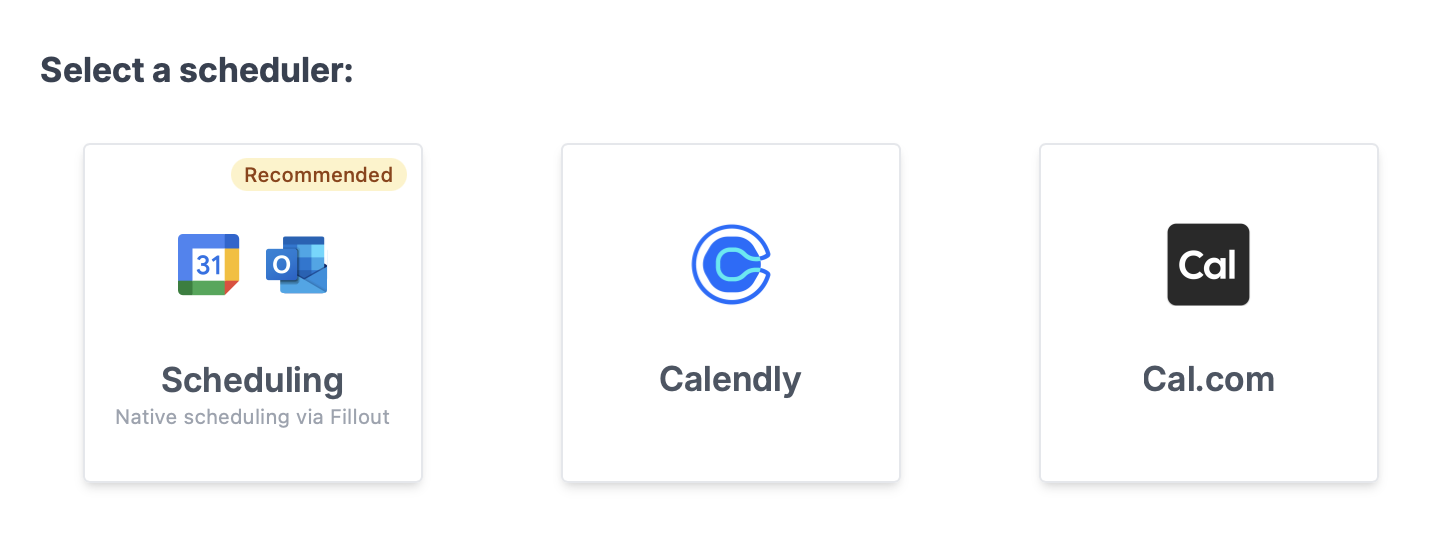 ## Schedulers
Fillout has its own native scheduler (supported by Google and Outlook Calendars) and currently supports [Calendly](https://calendly.com/) and [Cal.com](https://cal.com/). If you prefer to use another scheduler, you can [request it here](https://forms.fillout.com/t/c85QiJrD7Vus).
Calendly and Cal.com are available on the **Starter** plan and above. Learn more about our pricing plans and advanced features [**here**](https://www.fillout.com/pricing).
### Fillout Scheduling
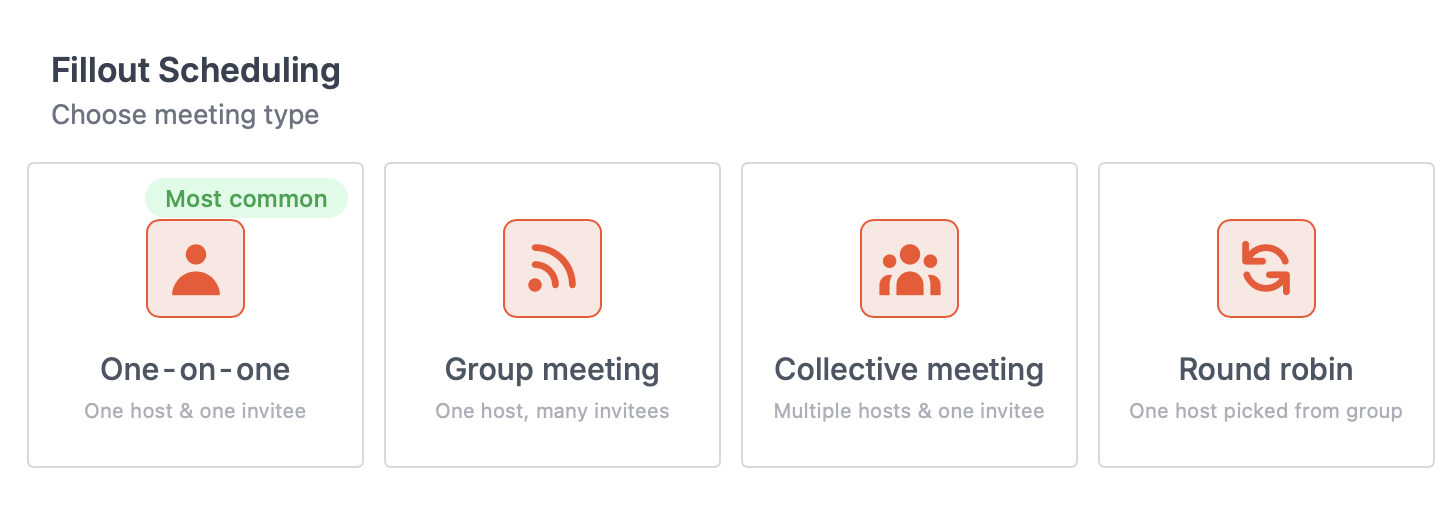
Select `Scheduling` to grant Fillout access to your Google, Zoom, or Teams calendar. Check out this [guide](/help/fillout-scheduling-intro) to learn more. Then, select a meeting type.
## Schedulers
Fillout has its own native scheduler (supported by Google and Outlook Calendars) and currently supports [Calendly](https://calendly.com/) and [Cal.com](https://cal.com/). If you prefer to use another scheduler, you can [request it here](https://forms.fillout.com/t/c85QiJrD7Vus).
Calendly and Cal.com are available on the **Starter** plan and above. Learn more about our pricing plans and advanced features [**here**](https://www.fillout.com/pricing).
### Fillout Scheduling
Select `Scheduling` to grant Fillout access to your Google, Zoom, or Teams calendar. Check out this [guide](/help/fillout-scheduling-intro) to learn more. Then, select a meeting type.
 ### **Calendly setup**
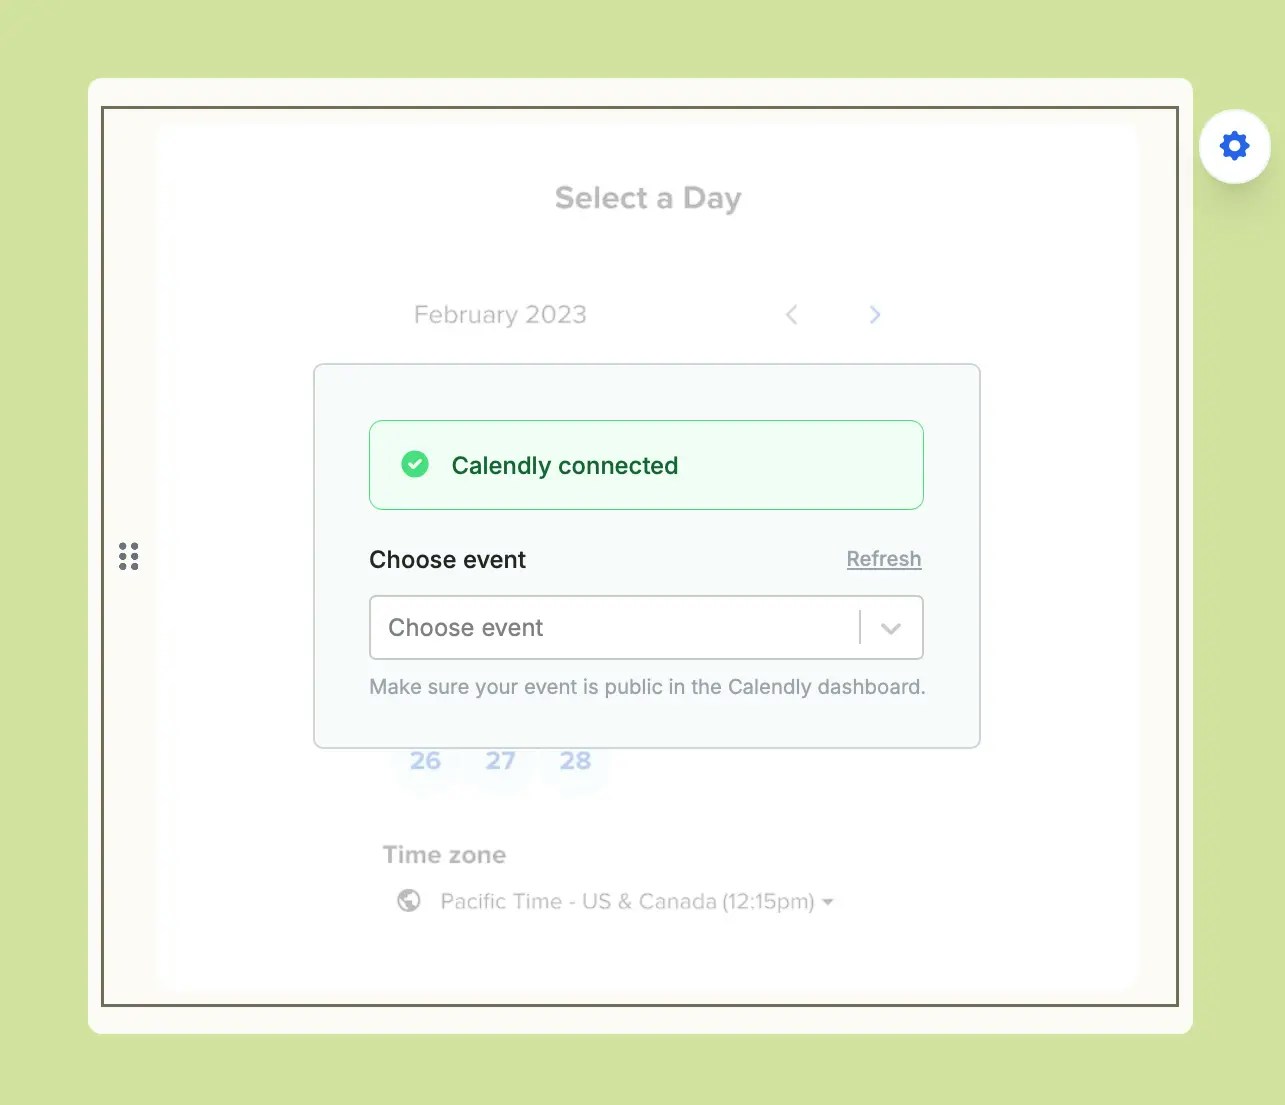
`Connect to Calendly` and grant Fillout access, and **Choose event**.
### **Calendly setup**
`Connect to Calendly` and grant Fillout access, and **Choose event**.
 ### [Cal.com](http://cal.com/) setup
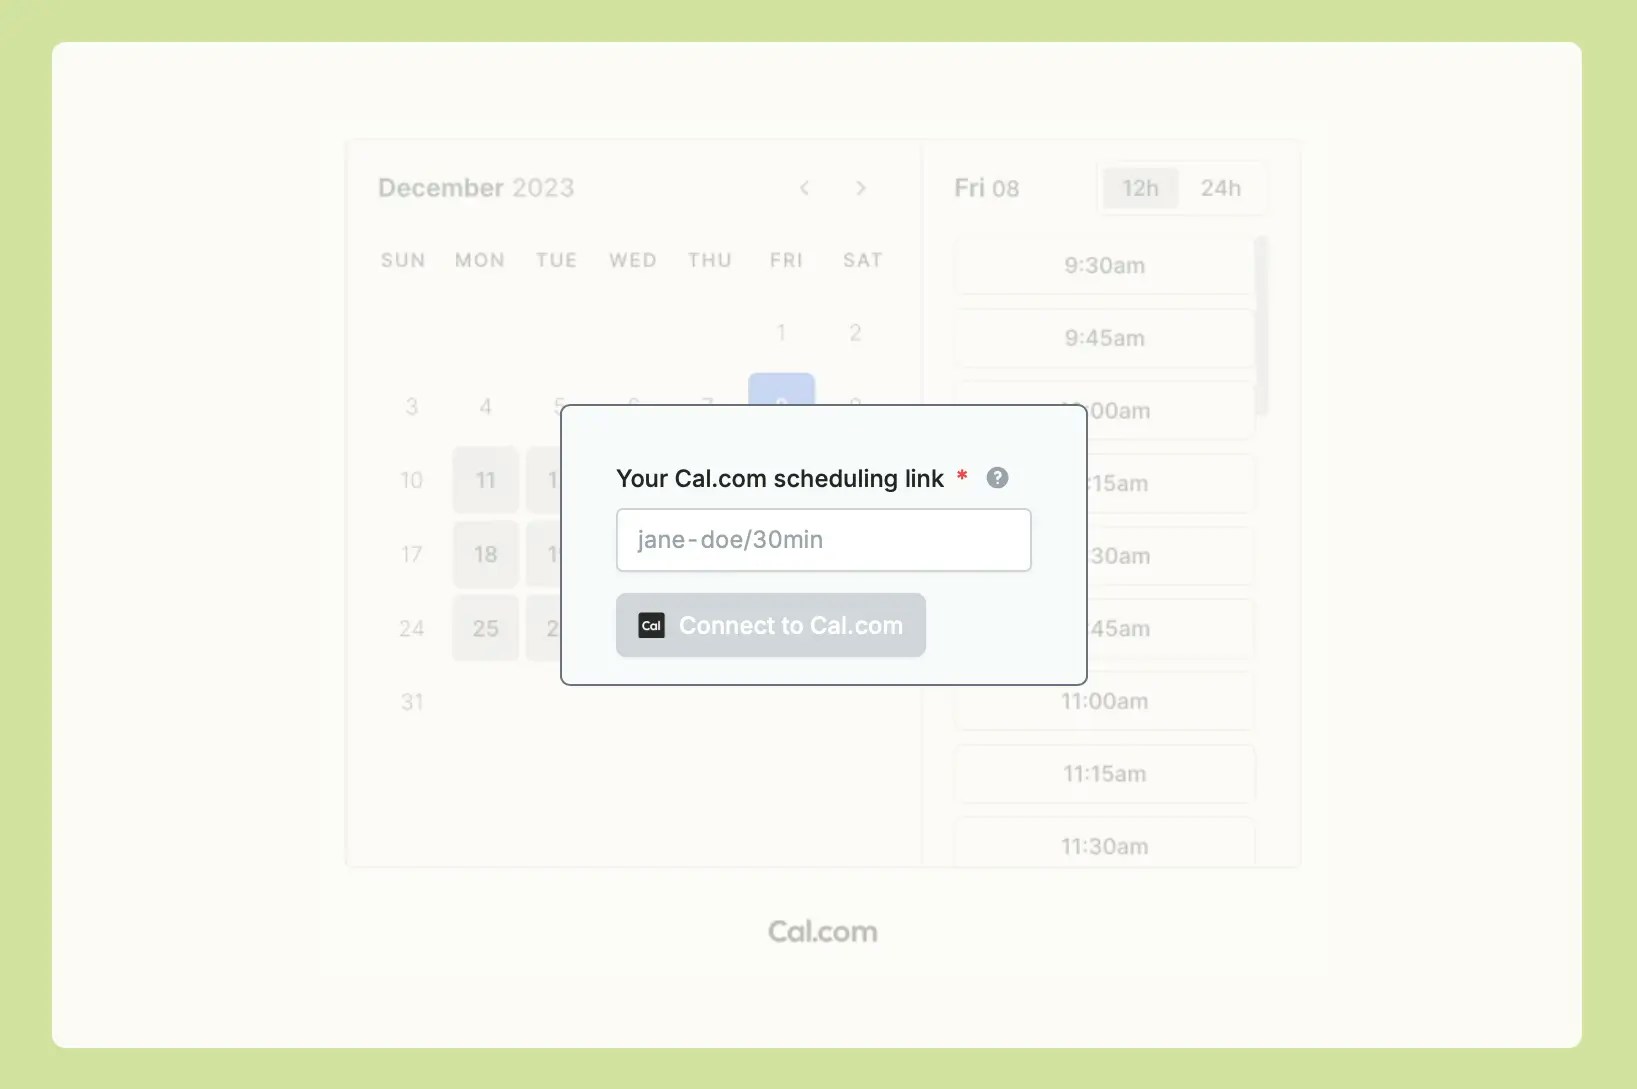
For `Cal.com`, copy and paste the link of your scheduling event. You can provide either the unique event or the full scheduling link.
### [Cal.com](http://cal.com/) setup
For `Cal.com`, copy and paste the link of your scheduling event. You can provide either the unique event or the full scheduling link.
 That’s it! Go to `Preview` mode in the top right corner to try it out. You can always change which event your scheduling page is linked to in the right-hand panel by clicking your calendar's icon.
On the Fillout `Results` page, you’ll see a **direct link** to the new scheduling event, tied to every submission.
## Pre-fill information
You can pass in information to the Scheduling question type using **Calendly/Cal.com prefills** in the right-hand panel. Click your calendar's icon to make the panel appear.
This is useful if you’ve already asked your respondent for their email or name, or if you’d like to pre-fill the calendar to a particular date.
That’s it! Go to `Preview` mode in the top right corner to try it out. You can always change which event your scheduling page is linked to in the right-hand panel by clicking your calendar's icon.
On the Fillout `Results` page, you’ll see a **direct link** to the new scheduling event, tied to every submission.
## Pre-fill information
You can pass in information to the Scheduling question type using **Calendly/Cal.com prefills** in the right-hand panel. Click your calendar's icon to make the panel appear.
This is useful if you’ve already asked your respondent for their email or name, or if you’d like to pre-fill the calendar to a particular date.
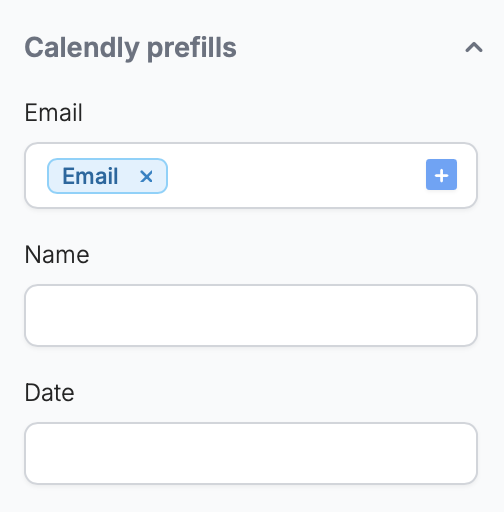 Click to select the value you would like to reference. In this example, we'll pre-fill their email.
## Save the booked time to an integration
You can save the Stripe payment ID to the integration of your choice by referencing it. Go to `Integrate` from the top menu and choose a platform.
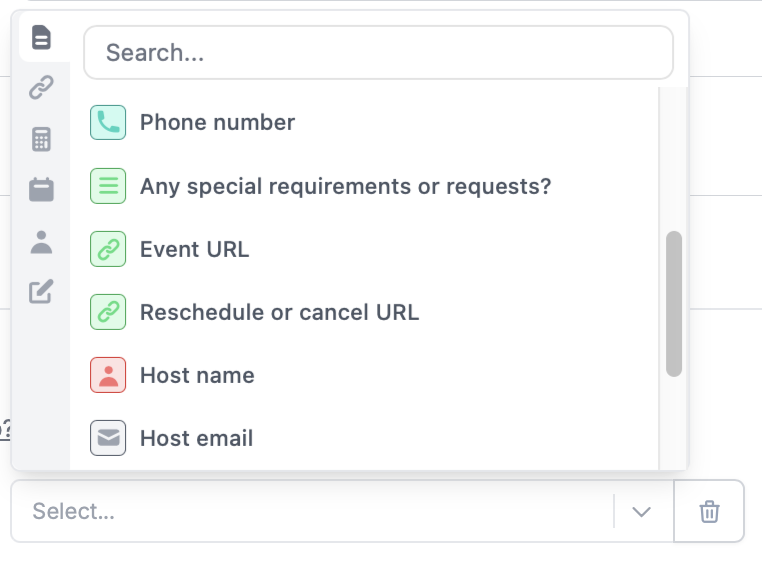
Under **Mappings**, click `+ Add new` and look for the **Event URL** or other event fields.
Click to select the value you would like to reference. In this example, we'll pre-fill their email.
## Save the booked time to an integration
You can save the Stripe payment ID to the integration of your choice by referencing it. Go to `Integrate` from the top menu and choose a platform.
Under **Mappings**, click `+ Add new` and look for the **Event URL** or other event fields.
 ## Related articles
Make a scheduling form with Fillout Scheduling for free.
Connect with dozens of native, 3rd party apps, and REST API services.
Enrich and validate emails, route leads, and more.
## Related articles
Make a scheduling form with Fillout Scheduling for free.
Connect with dozens of native, 3rd party apps, and REST API services.
Enrich and validate emails, route leads, and more.