> ## Documentation Index
> Fetch the complete documentation index at: https://fillout.com/help/llms.txt
> Use this file to discover all available pages before exploring further.
# Embed Fillout forms on Webflow
> Learn how to embed a Fillout form in Webflow. It only takes a few minutes to insert your form as a popup, slide-out, or standard element on the page.
export const SupportBanner = () => {
const titleId = React.useId();
return ;
};
## Overview
While [Webflow](https://webflow.com) has some built-in form features, they have limited multi-step functionality and only work with a limited number of third-party apps and platforms, making it hard to sync data to your CRM, database, or email marketing platform.
## Video tutorial
## How to embed your form
Start by clicking `Publish` in the upper right corner of the Fillout form editor. A popup will show up where you can pick an **embed style**.
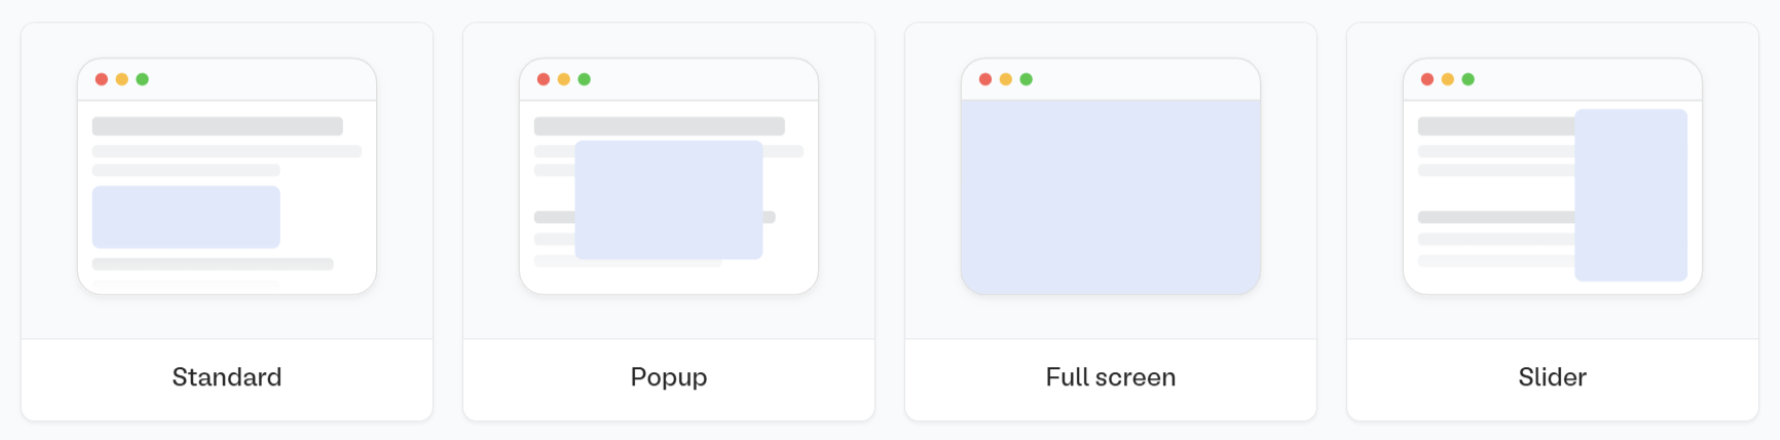 If you've already published your form, click `Share` in the top middle or top right. Adjust your embed style settings to fit your use case. Then, `Get the code`
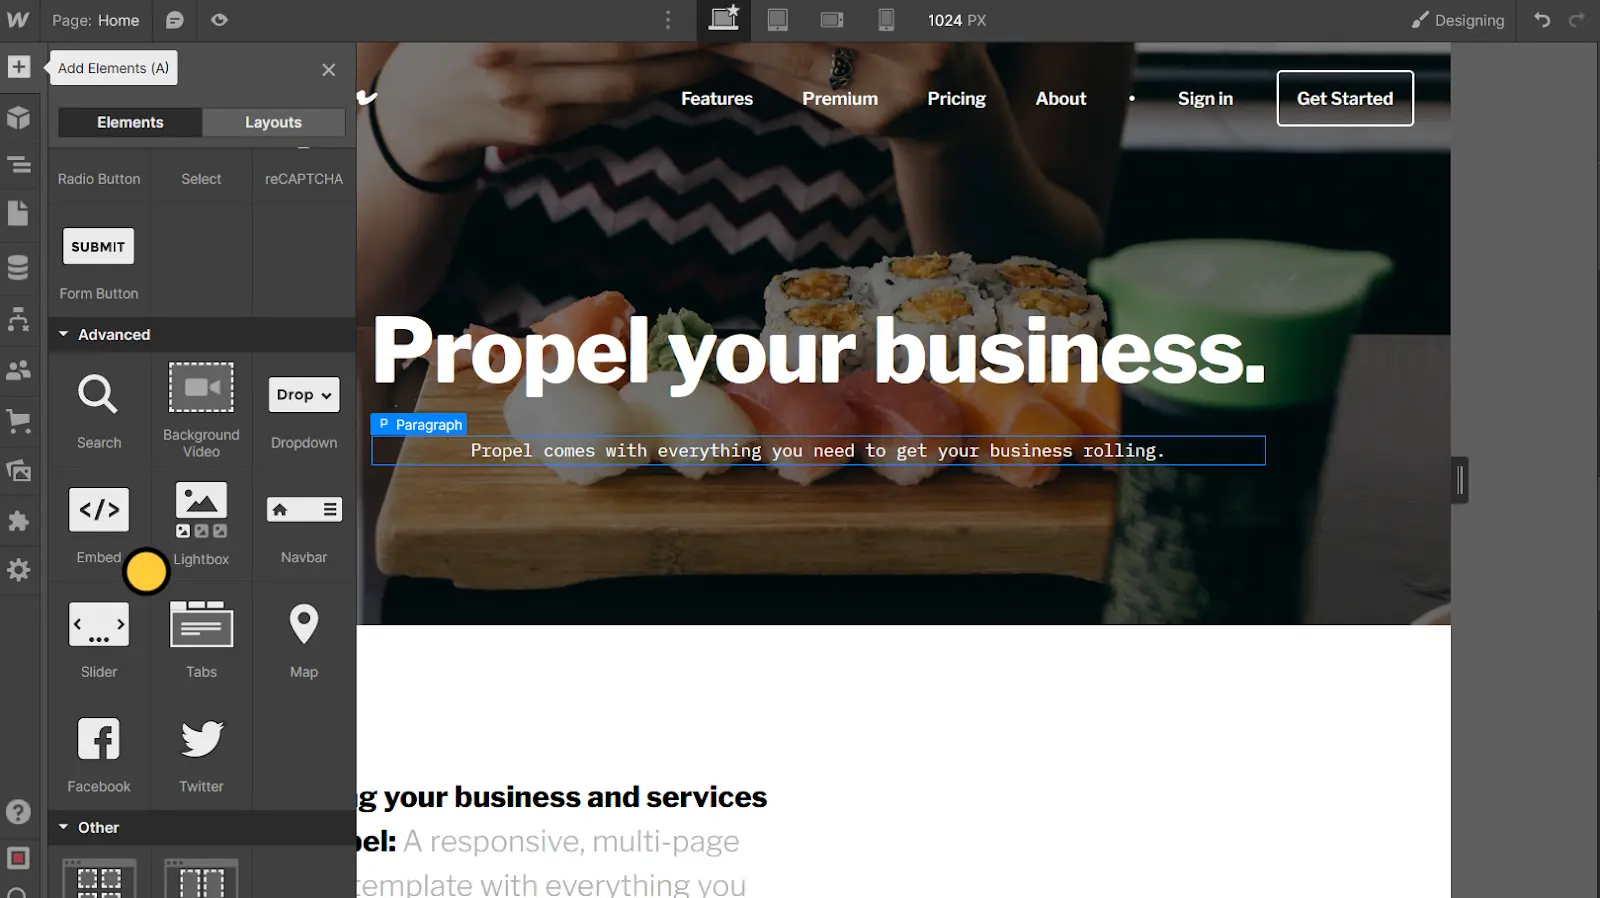
Open your Webflow visual editor, click `+` on the upper left corner (or press `A`) to open the **Add Elements** sidebar.
Select the **Elements** tab, scroll to the **Advanced** section at the bottom of the list, and drag and drop the `Embed` to a spot on the page.
If you've already published your form, click `Share` in the top middle or top right. Adjust your embed style settings to fit your use case. Then, `Get the code`
Open your Webflow visual editor, click `+` on the upper left corner (or press `A`) to open the **Add Elements** sidebar.
Select the **Elements** tab, scroll to the **Advanced** section at the bottom of the list, and drag and drop the `Embed` to a spot on the page.
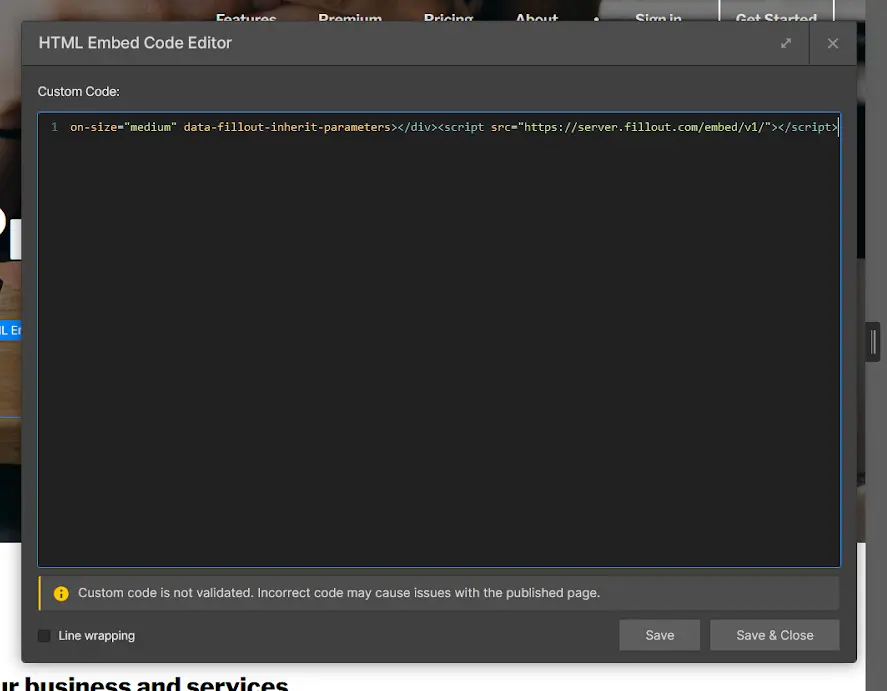
 Paste your **embed code** from Fillout into the code editor and click `Save & Close`.
 The Webflow visual editor doesn't display scripts, so you need to open the **Publish** menu in the upper right corner of the screen and click `Publish to selected domains`.
After publishing the changes, click next to your site URL to confirm that the embed works as intended.
## Troubleshooting common issues
**Narrow embeds**
The Webflow visual editor doesn't display scripts, so you need to open the **Publish** menu in the upper right corner of the screen and click `Publish to selected domains`.
After publishing the changes, click next to your site URL to confirm that the embed works as intended.
## Troubleshooting common issues
**Narrow embeds**
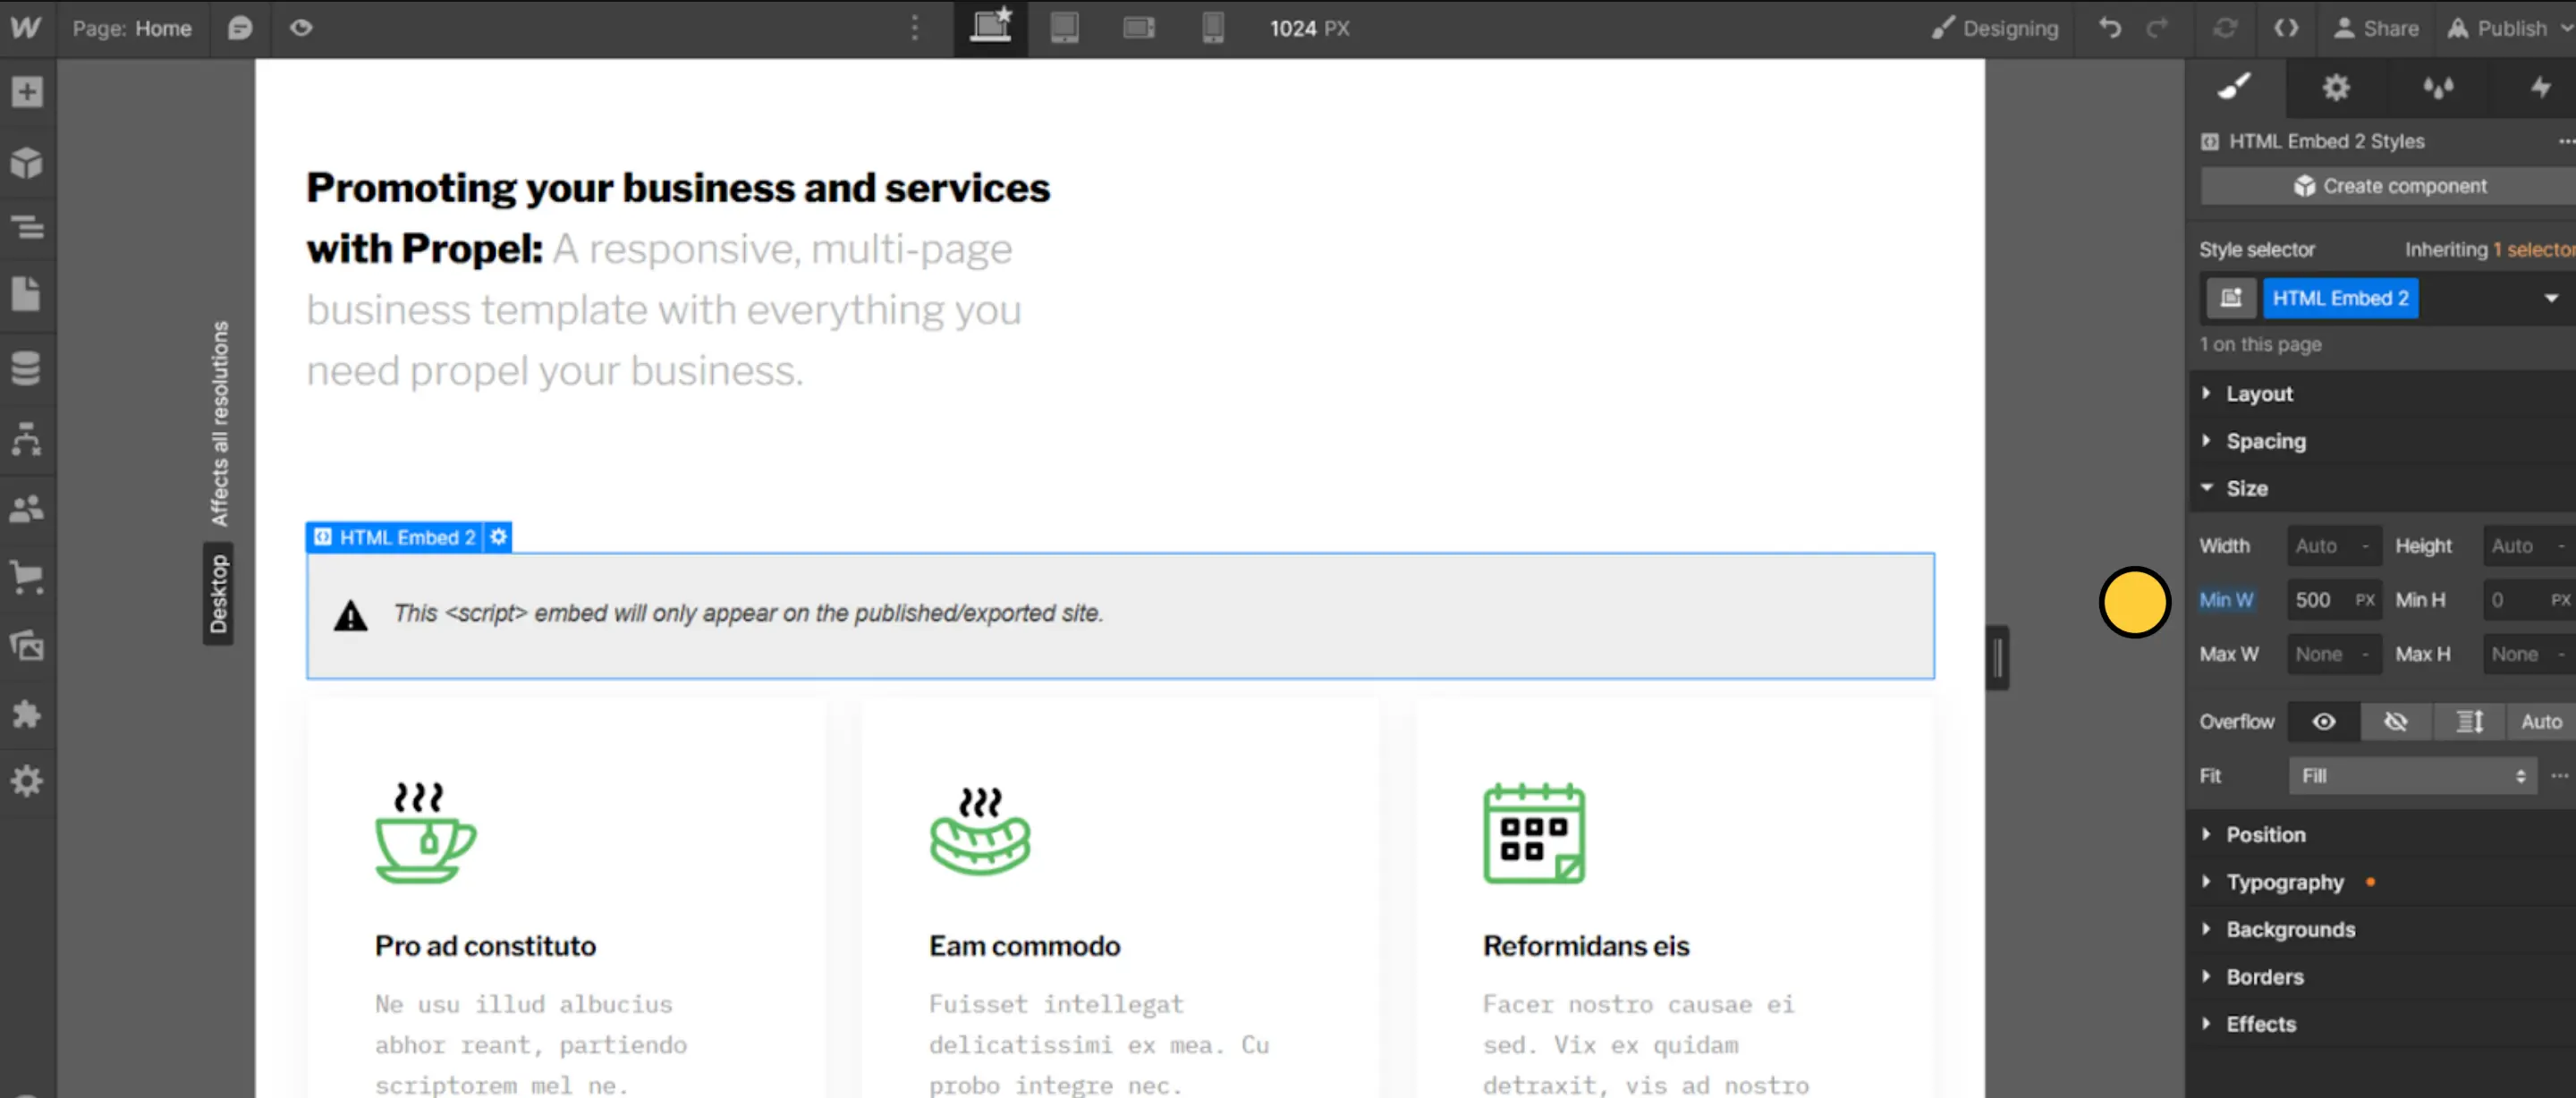 Sometimes, design settings applied in Fillout cause the embed to show up as too narrow on the page. To fix this manually, select the `Embed` in the visual editor, then open the **Size** menu from the right **Style** sidebar.
Increase the `Min W` value, publish the changes, and keep adjusting until you find a value you like (500px is a good starting point).
Sometimes, design settings applied in Fillout cause the embed to show up as too narrow on the page. To fix this manually, select the `Embed` in the visual editor, then open the **Size** menu from the right **Style** sidebar.
Increase the `Min W` value, publish the changes, and keep adjusting until you find a value you like (500px is a good starting point).
 **Out of place floating buttons**
Floating buttons (available in the **Popup** and **Slider** embed settings) may float behind certain elements and styles, like image sliders.
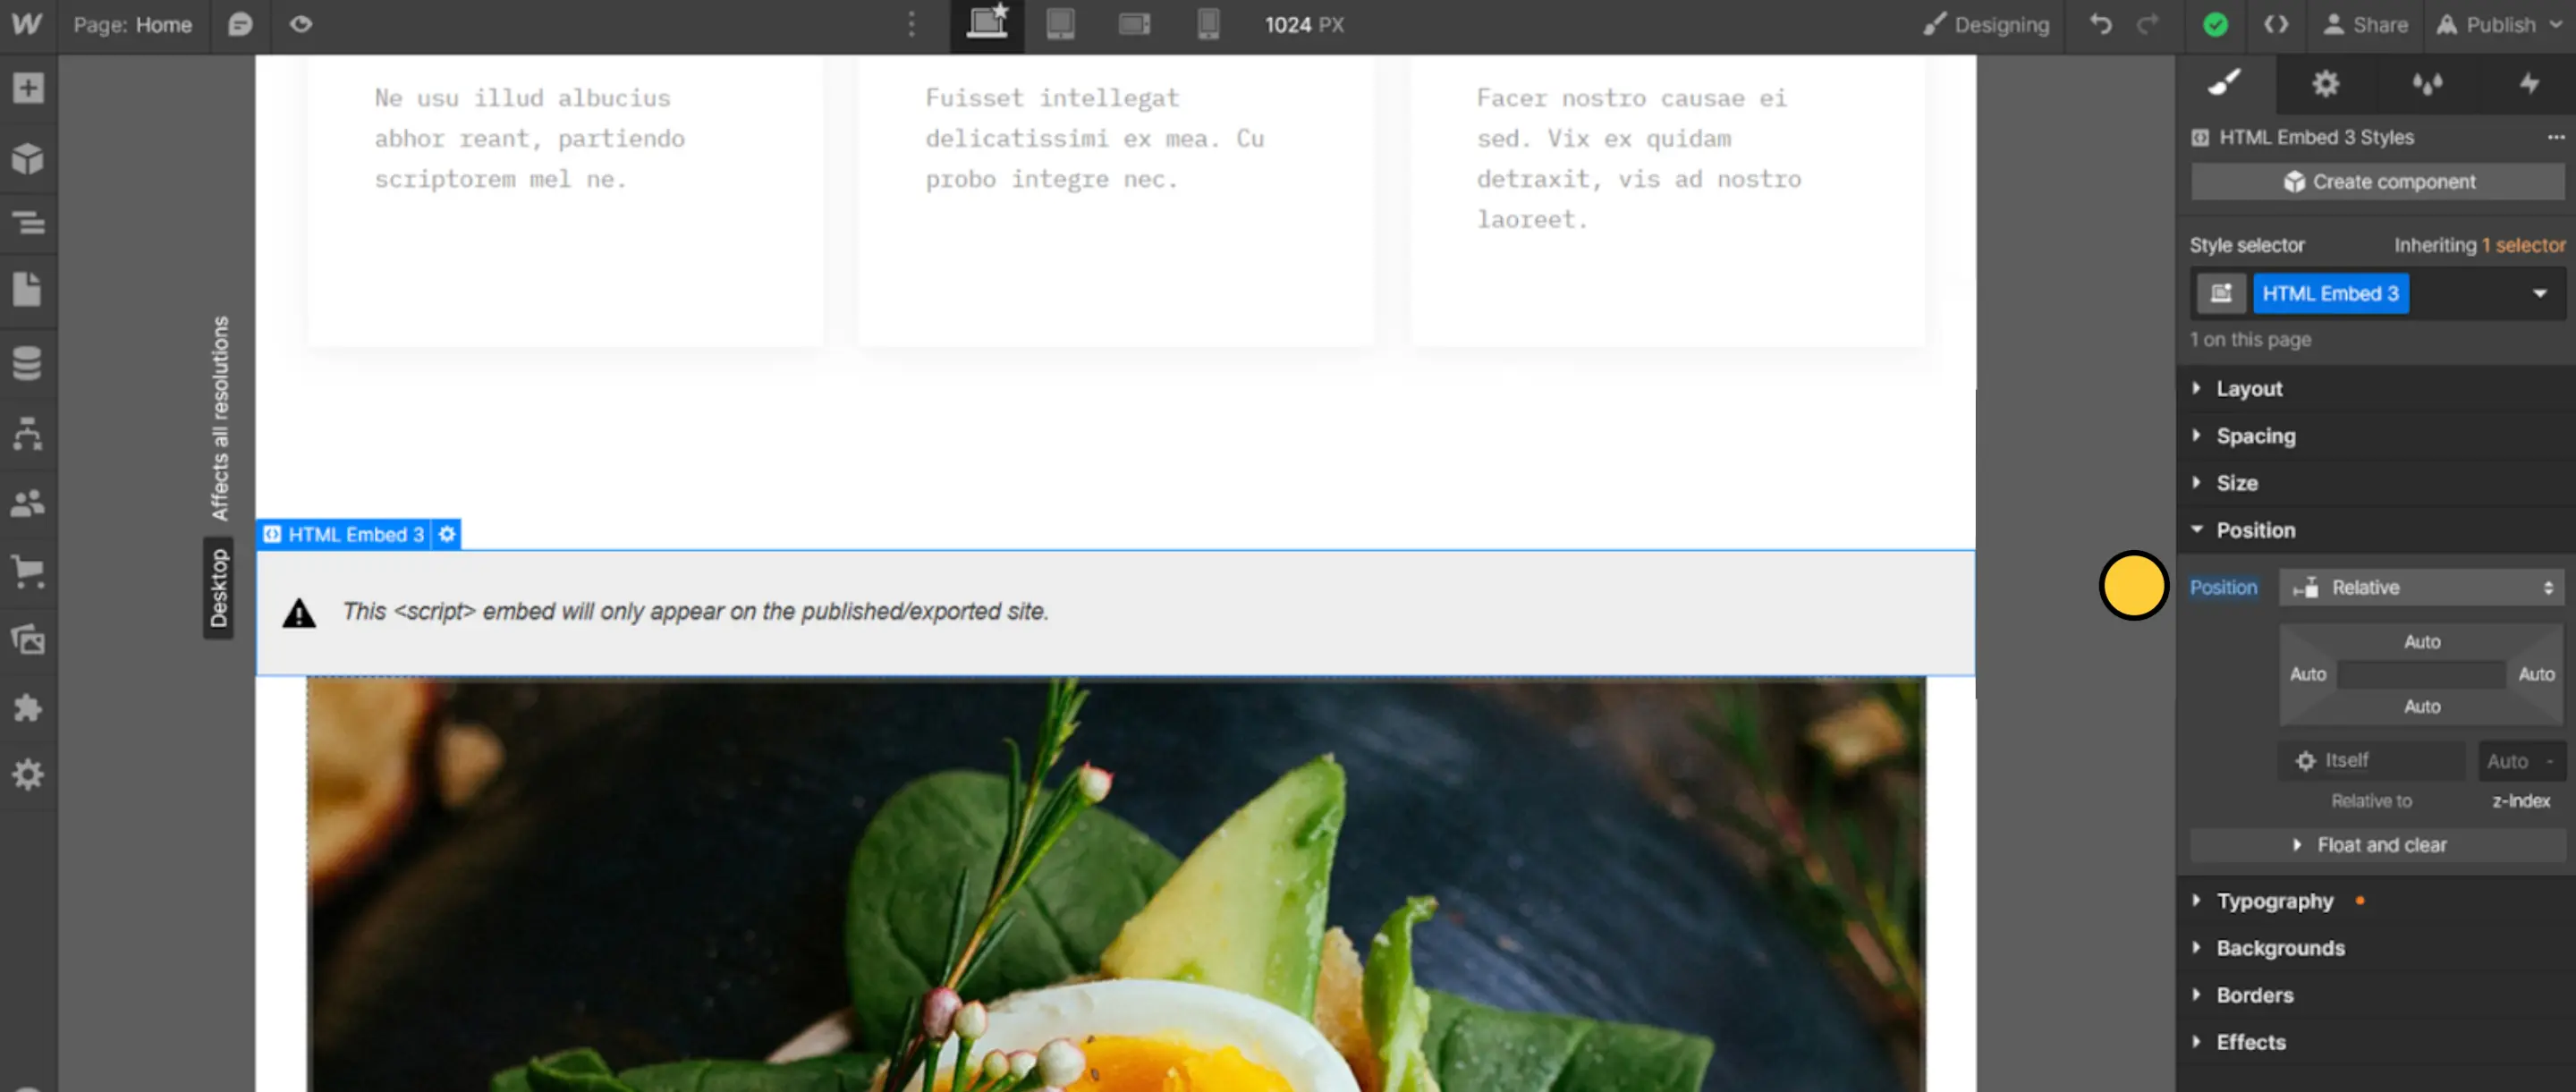
One way to fix this is placing the `Embed` element inside of a `Div` block (under **Basic** in the **Add Elements** sidebar) – almost anywhere on the page should work – and selecting `Relative` from the **Position** dropdown in the right **Style** sidebar.
Then, click on every `Slide` element on the page and select `Static` from the **Position** dropdown within the **Style** sidebar.
## Related article
Share your form by link or embed it on your website.
**Out of place floating buttons**
Floating buttons (available in the **Popup** and **Slider** embed settings) may float behind certain elements and styles, like image sliders.
One way to fix this is placing the `Embed` element inside of a `Div` block (under **Basic** in the **Add Elements** sidebar) – almost anywhere on the page should work – and selecting `Relative` from the **Position** dropdown in the right **Style** sidebar.
Then, click on every `Slide` element on the page and select `Static` from the **Position** dropdown within the **Style** sidebar.
## Related article
Share your form by link or embed it on your website.