> ## Documentation Index
> Fetch the complete documentation index at: https://fillout.com/help/llms.txt
> Use this file to discover all available pages before exploring further.
# Send messages to Discord channels
> Get notifications in Discord whenever someone completes your form. See an overview of form responses or choose a custom message.
export const SupportBanner = () => {
const titleId = React.useId();
return ;
};
## What is Discord?
[Discord](https://discord.com/) is a communication platform designed for creating communities, where users can chat via text, voice, and video, often organized around specific topics or interests.
## How it works
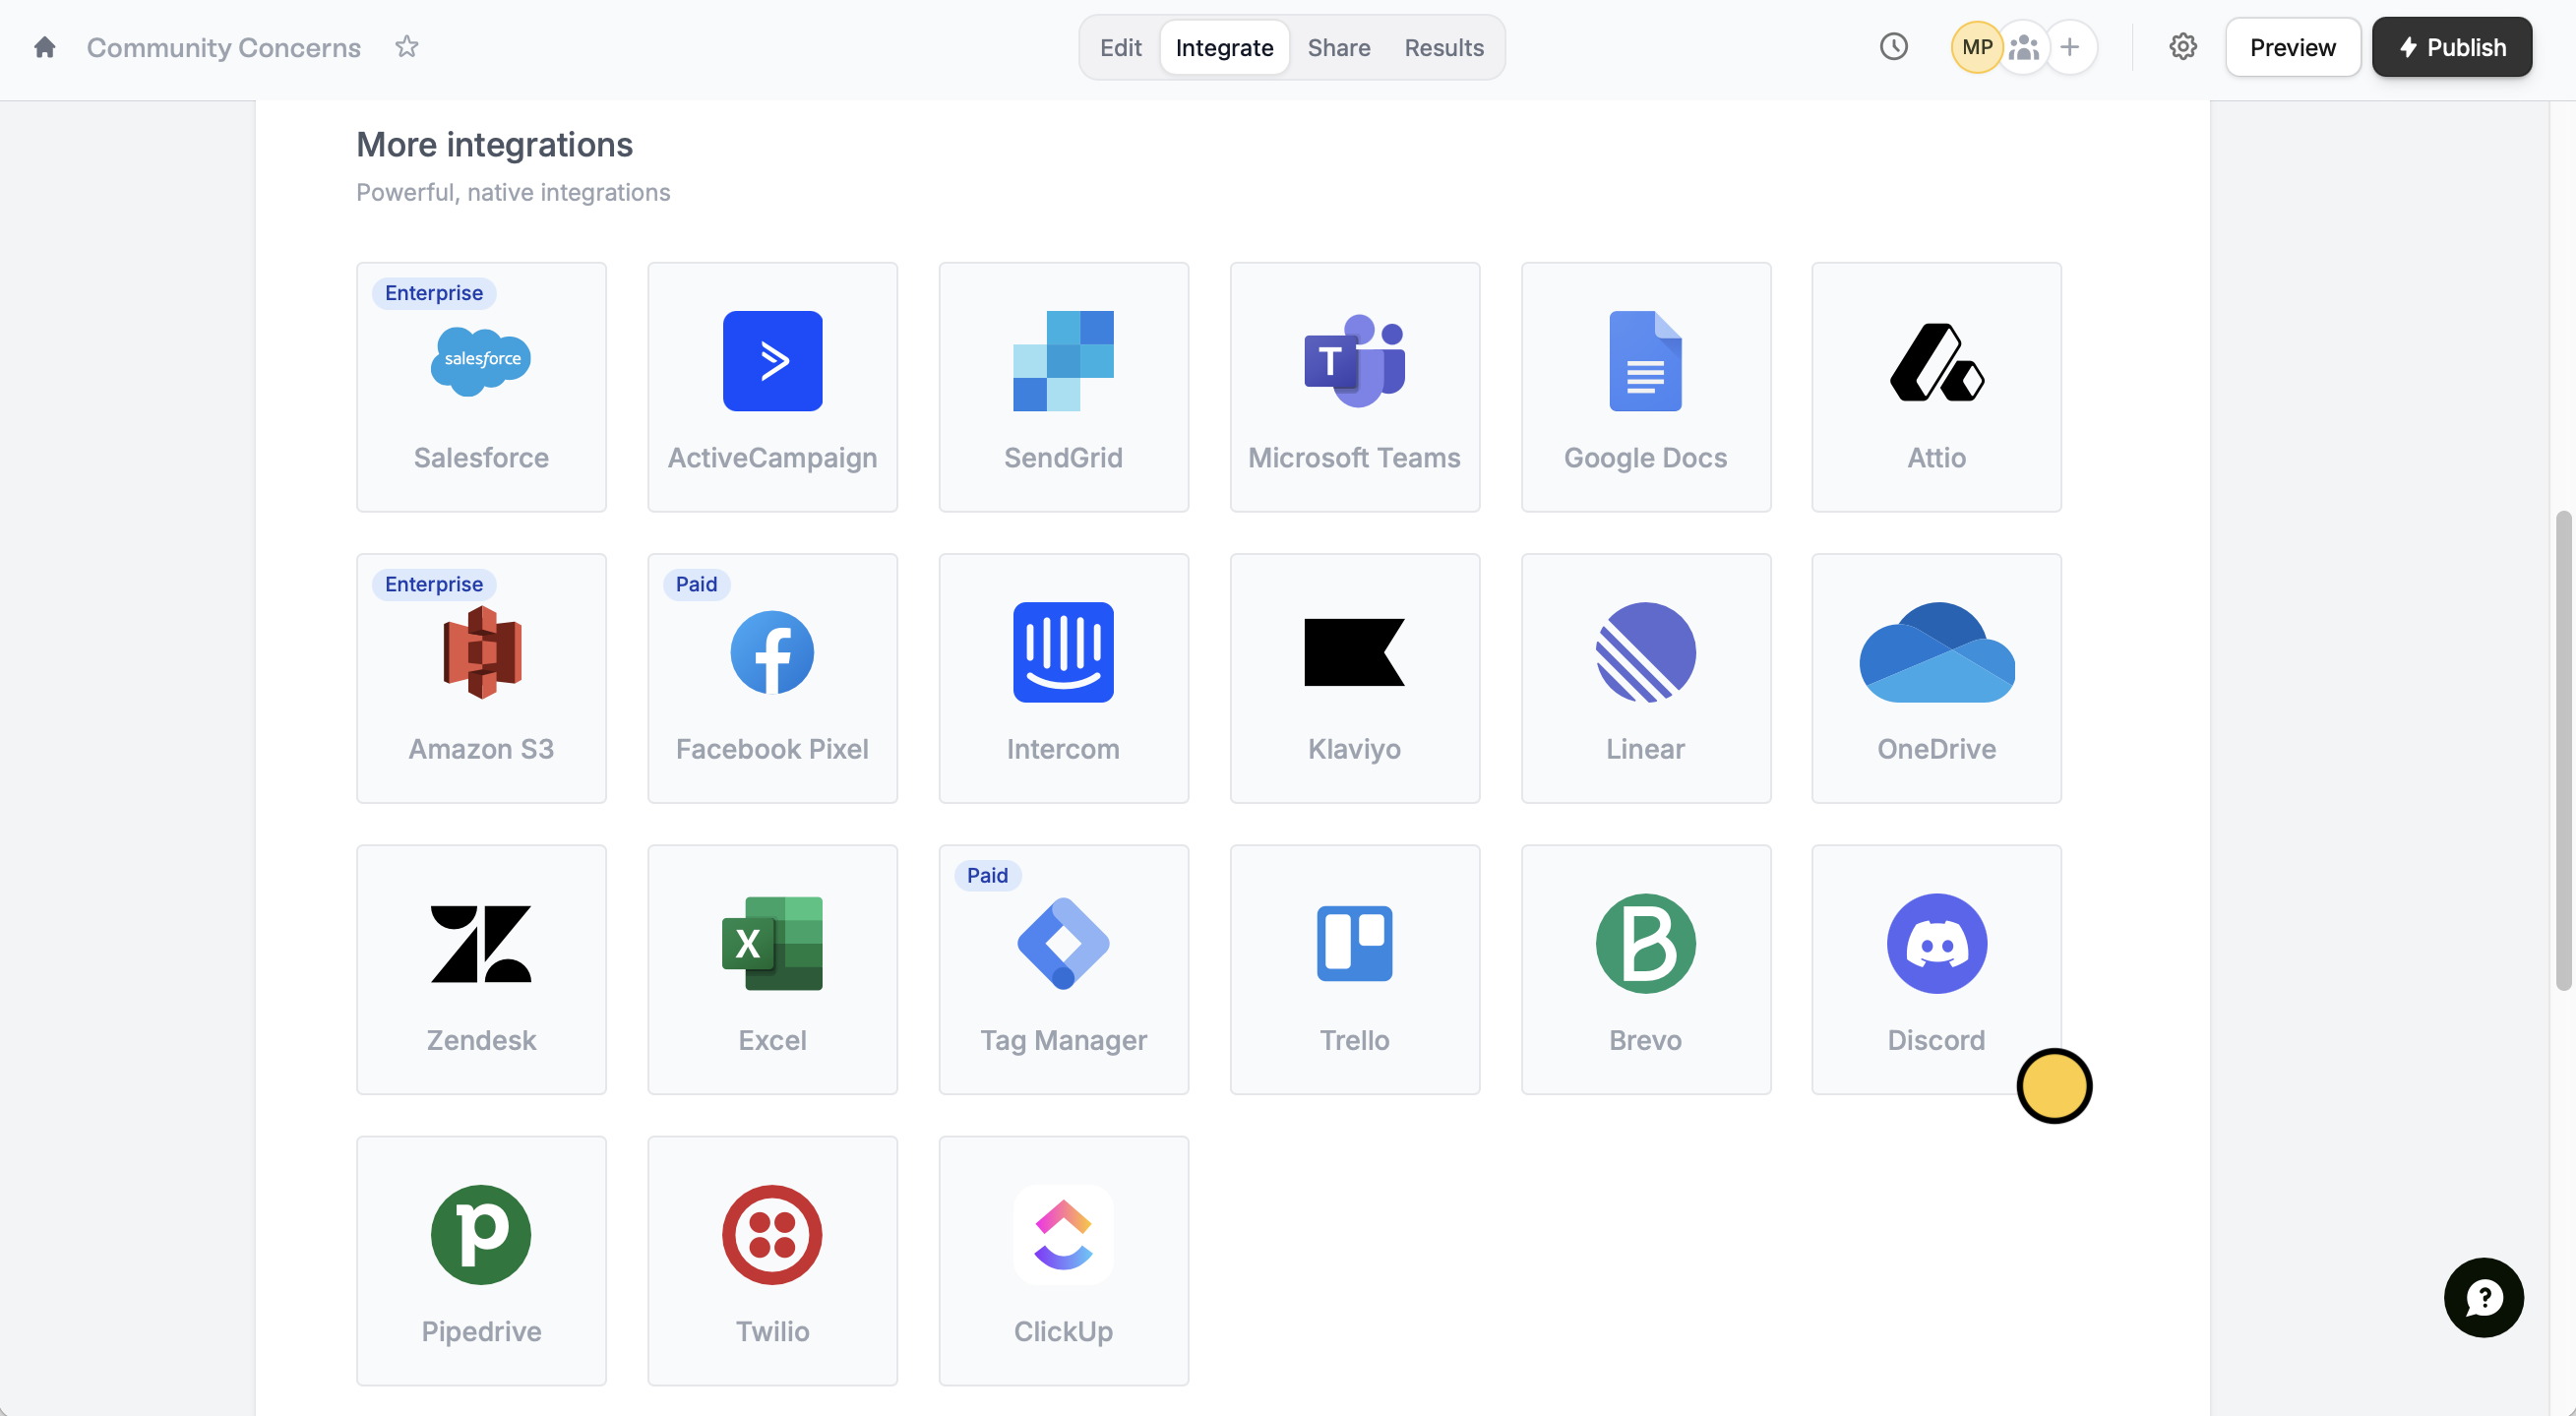
Open your form or create a new one in Fillout. Click `Integrate` from the top menu and look for `Discord`.
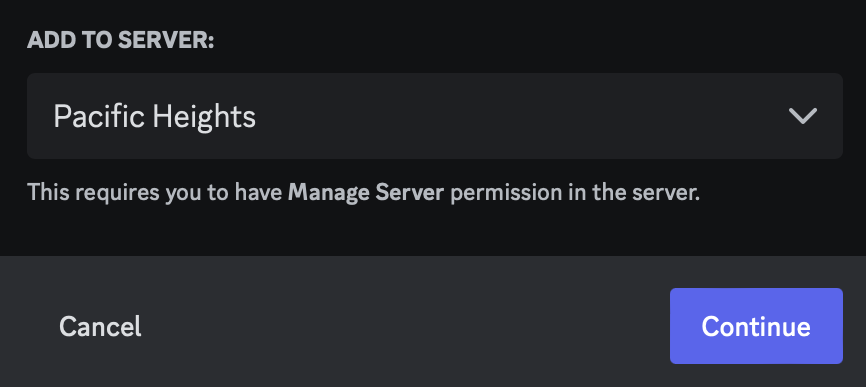
 Sign in with your Discord account to `Authorize` access. Then, choose a server from the dropdown menu to `Continue`.
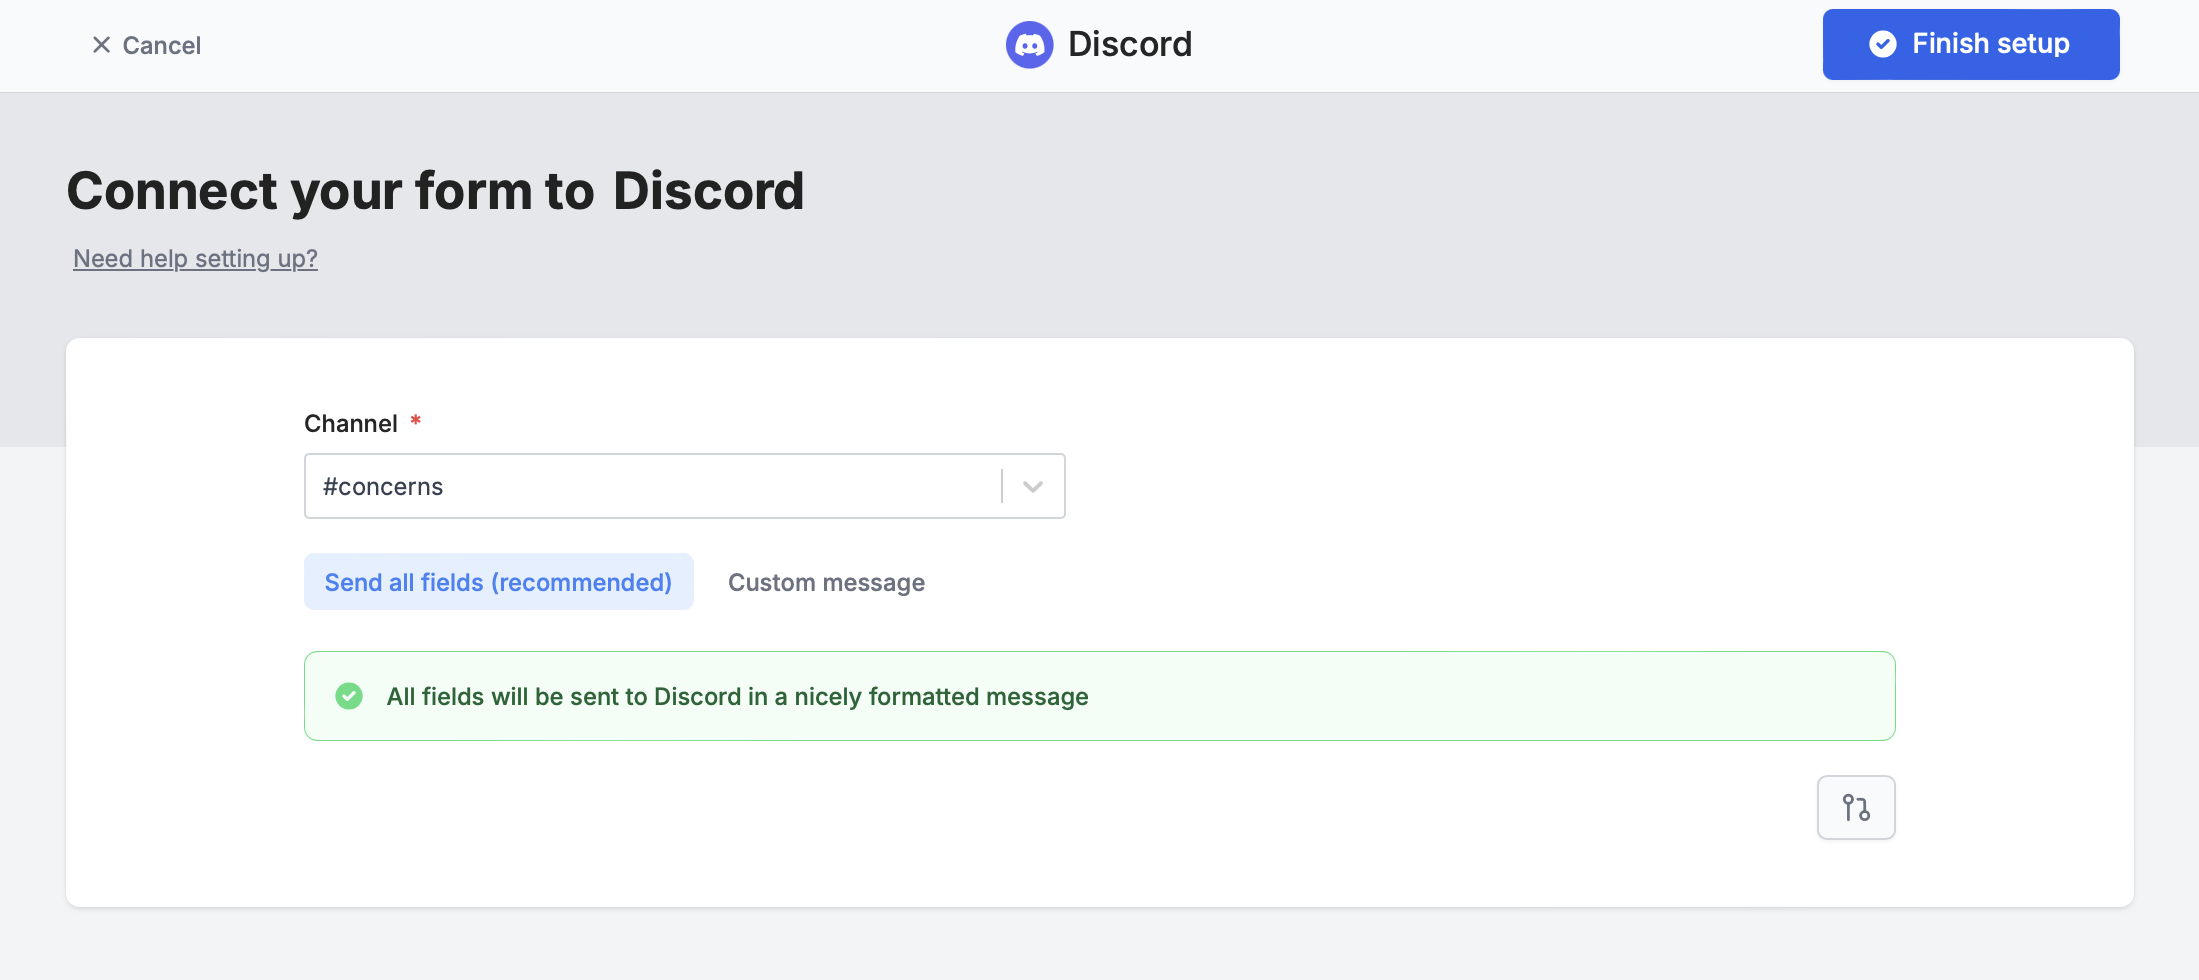
 Choose a channel to send messages to and your preferred message formatting. `Finish setup` to test your form and `Publish` it.
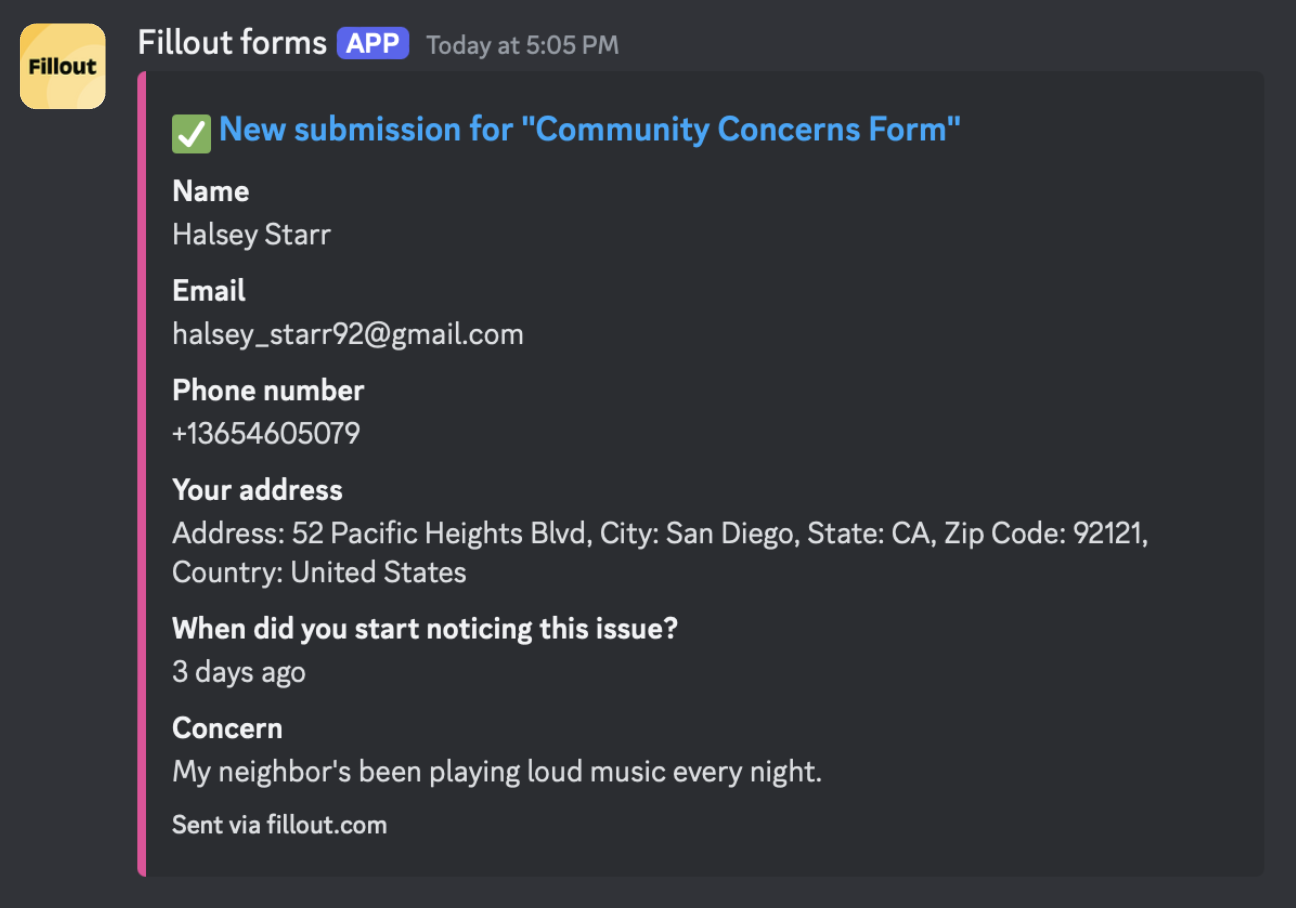
 That's it! Now every time your form is submitted, you’ll get a notification on your chosen Discord channel. `Publish` your form and share or embed it anywhere.
## Message formatting
### **Send all fields (recommended)**
By default, form submissions are summarized and sent to your channel.
That's it! Now every time your form is submitted, you’ll get a notification on your chosen Discord channel. `Publish` your form and share or embed it anywhere.
## Message formatting
### **Send all fields (recommended)**
By default, form submissions are summarized and sent to your channel.
 ### **Custom message**
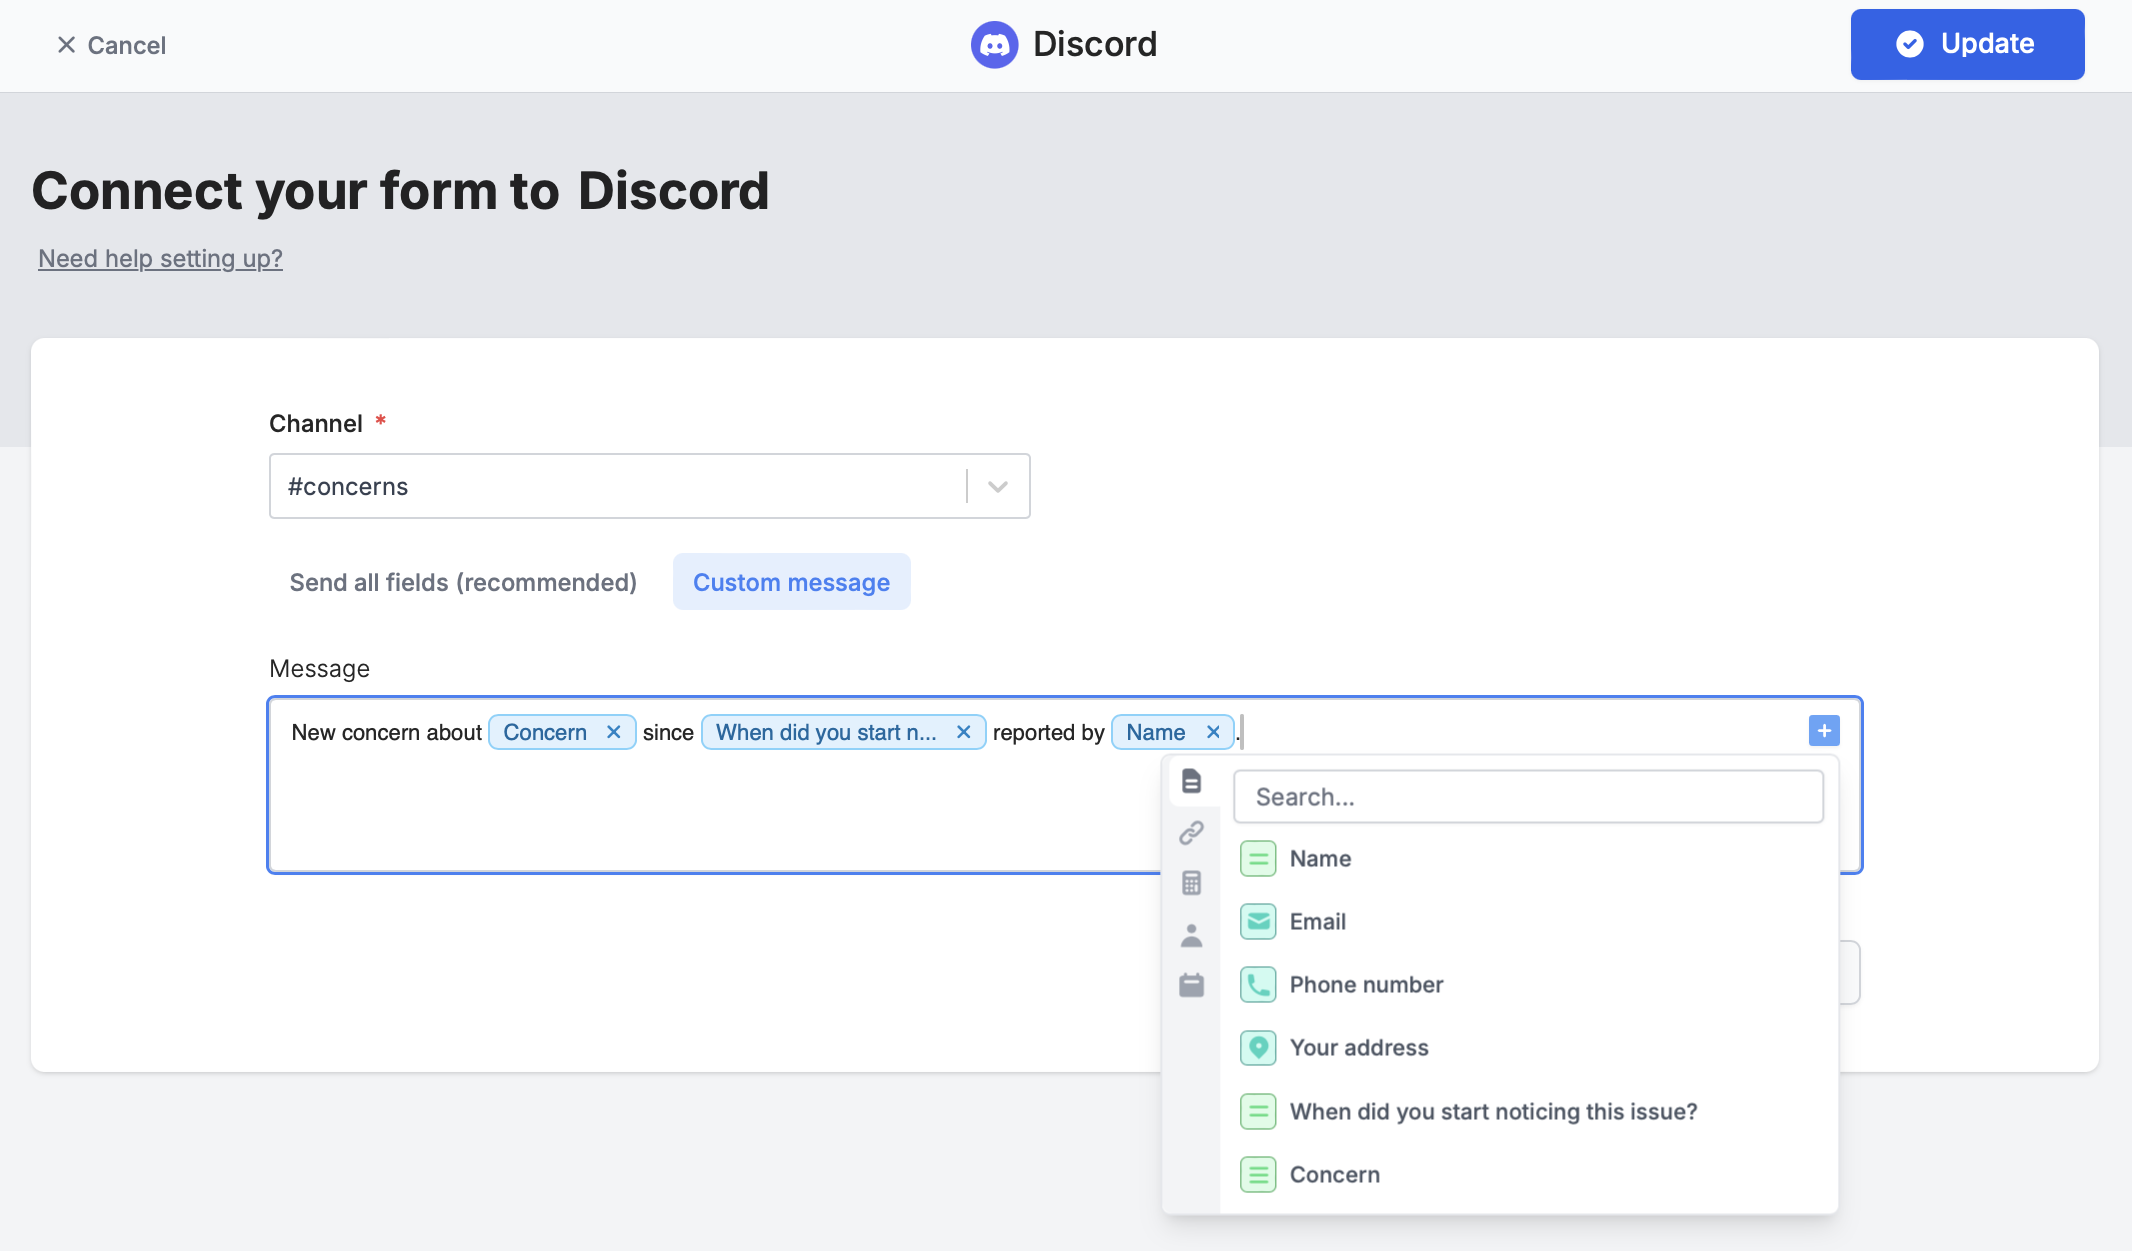
You can tailor the default message to display only selected fields. Simply click on the right side or type **@** to choose specific fields or [other values](https://www.fillout.com/help/additional-integration-mappings#other-mappings).
### **Custom message**
You can tailor the default message to display only selected fields. Simply click on the right side or type **@** to choose specific fields or [other values](https://www.fillout.com/help/additional-integration-mappings#other-mappings).
 ## Specify a condition
Opt to run your integration only when a specific condition is met. Check out this [**guide**](/help/conditional-integration).
## Other similar integrations
Get response summaries on Slack.
Get response summaries on Teams.
Send to automation tools or any endpoint.
## Specify a condition
Opt to run your integration only when a specific condition is met. Check out this [**guide**](/help/conditional-integration).
## Other similar integrations
Get response summaries on Slack.
Get response summaries on Teams.
Send to automation tools or any endpoint.