> ## Documentation Index
> Fetch the complete documentation index at: https://fillout.com/help/llms.txt
> Use this file to discover all available pages before exploring further.
# Choose a record to update
> Let users choose the record they want to update in Fillout and update it with a custom form.
## Overview
Fillout lets you [create update forms](/help/airtable-update-form) to update existing records in Airtable, SmartSuite, Notion and other databases. By default, however, Fillout requires you to pass in the record ID to update in the URL. With the approach described below, you can have your users `choose which record they would like to update`.
**Only share each update link with people who should see all of that record's fields.** An update link acts as a key to the entire record: anyone who opens it can view every field on the record, even fields that don't appear as questions on the form. This is what lets update forms use any record field for pre-filling, [answer piping](/help/answer-piping), show/hide [logic](/help/conditional-hiding), and [calculations](/help/calculations).
To keep certain fields private, store them in a separate table so they aren't part of the record being updated, or [restrict prefilled data](/help/update-forms#restrict-prefilled-data) so the form only loads fields mapped to questions.
## How it works
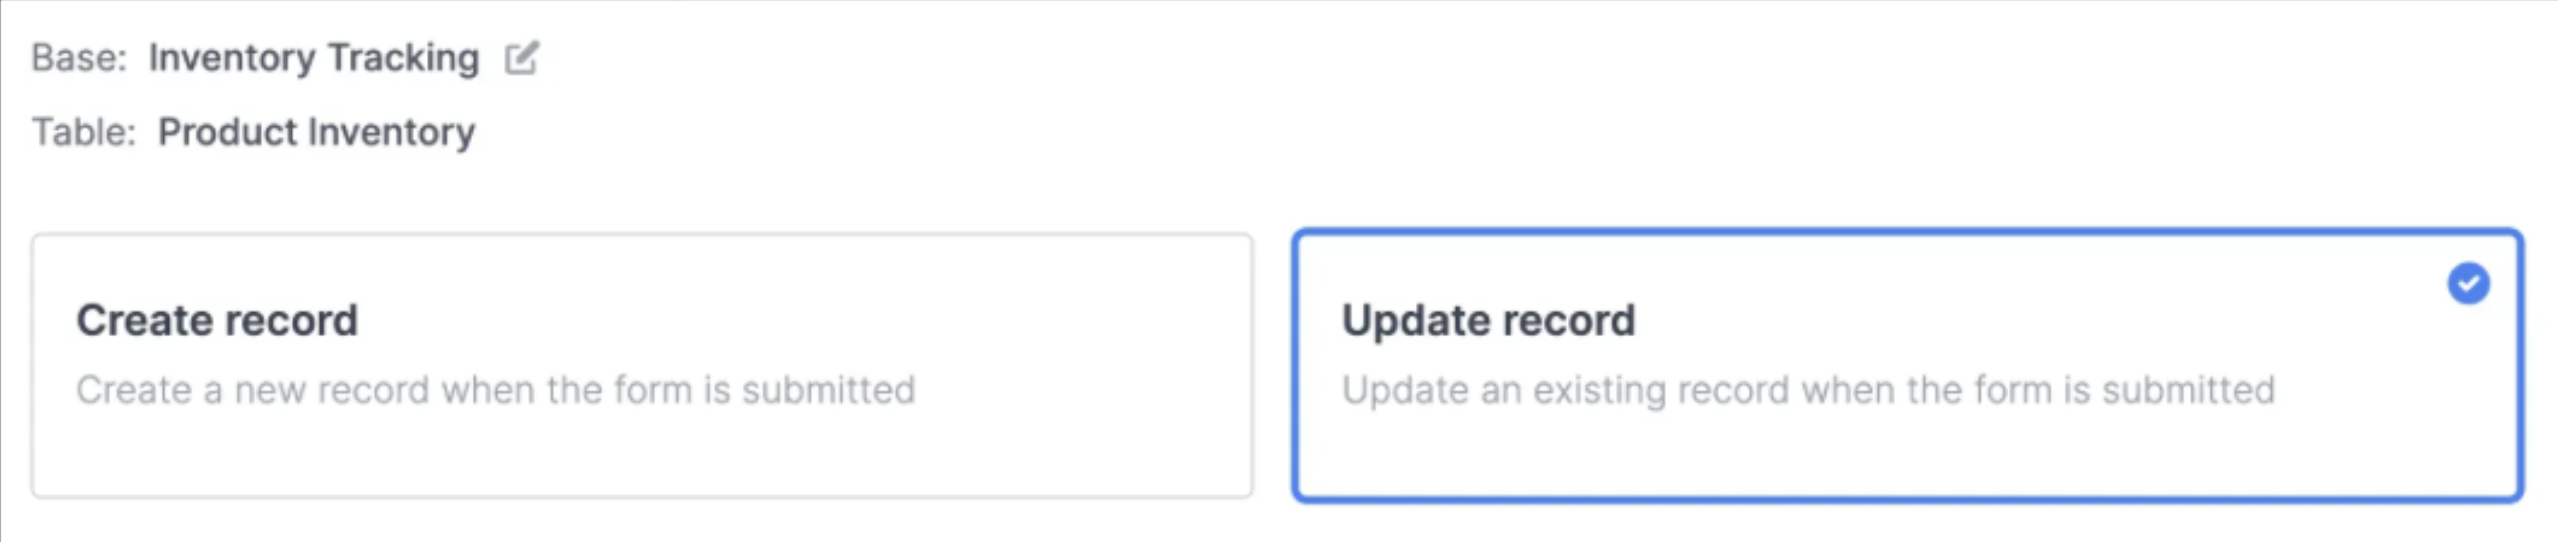
Follow the steps [here](/help/airtable-update-form) to create an “update” form. Make sure to select `Update record` on the integration and to publish the form.
 Create another form. This is the main form you will send your respondents to so that they can choose the record to update.
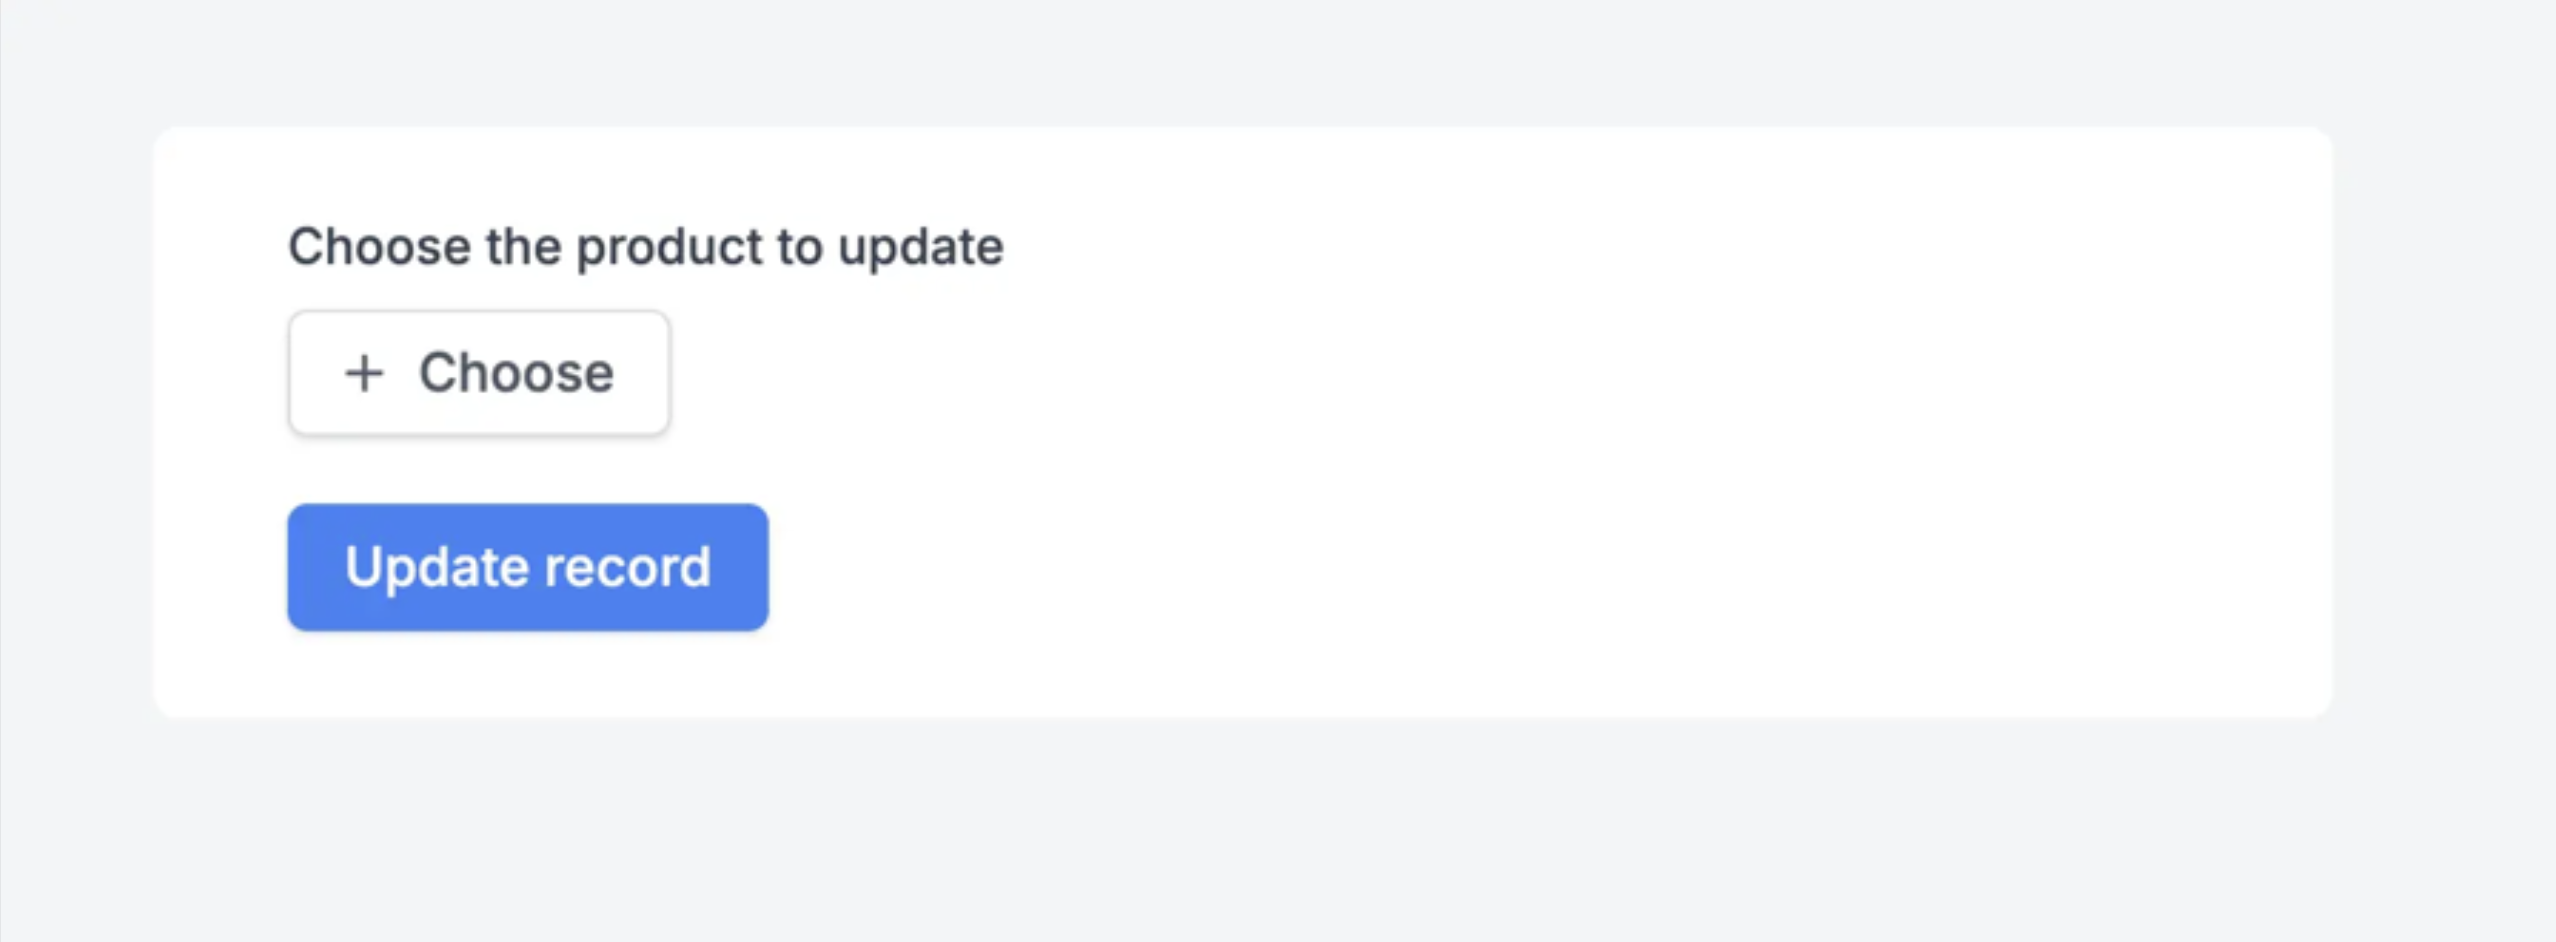
In the form, add a linked record picker that links to the Airtable you would like to update. For example, if your first form updates a Product Inventory table, create this form tied to a different table that has a linked relation with Product Inventory. In this form, add a record picker to choose from those products:
Create another form. This is the main form you will send your respondents to so that they can choose the record to update.
In the form, add a linked record picker that links to the Airtable you would like to update. For example, if your first form updates a Product Inventory table, create this form tied to a different table that has a linked relation with Product Inventory. In this form, add a record picker to choose from those products:
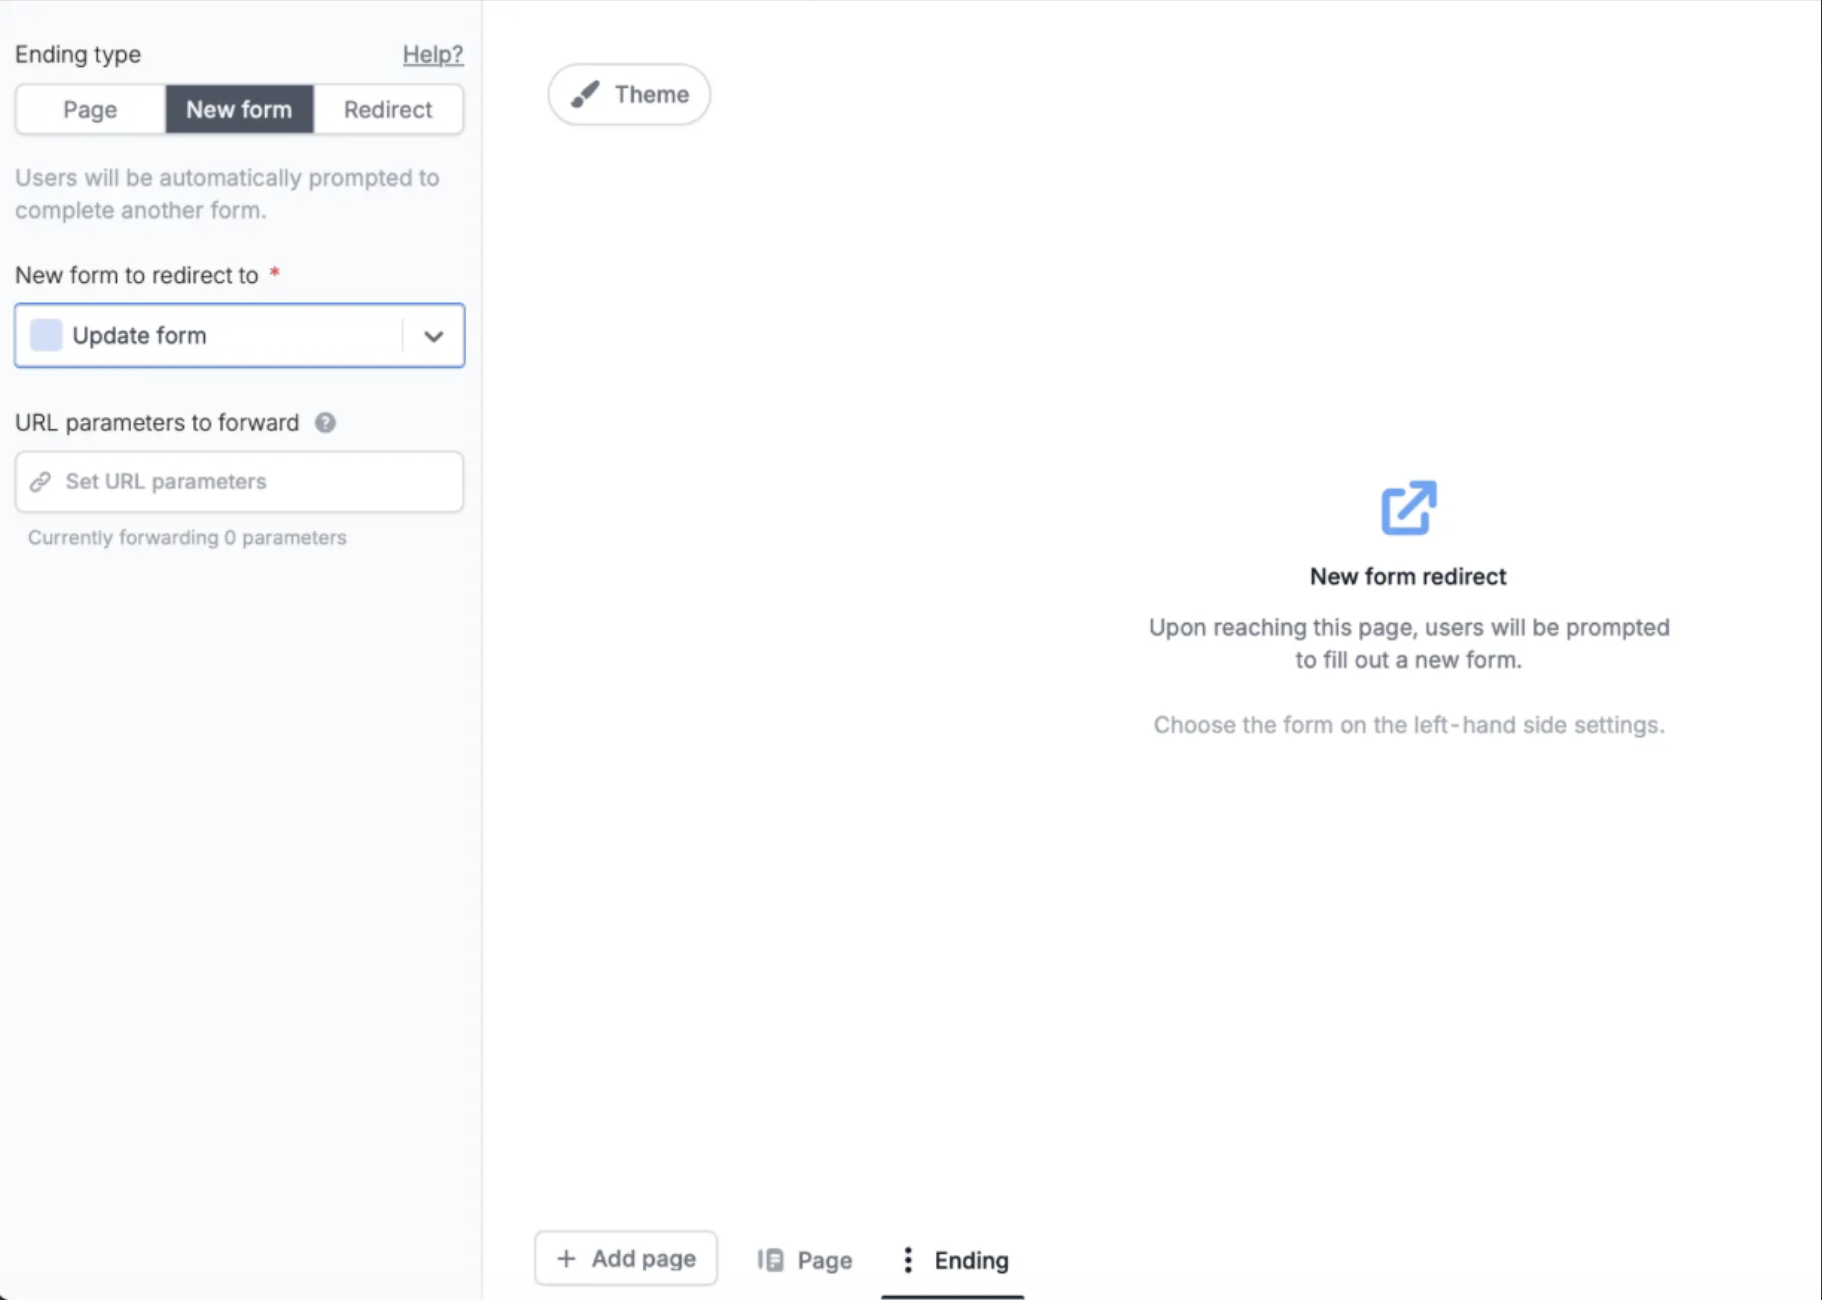
 Navigate to the [ending page](/help/ending-page) of your record chooser form and set your update form as the **New form to redirect to**.
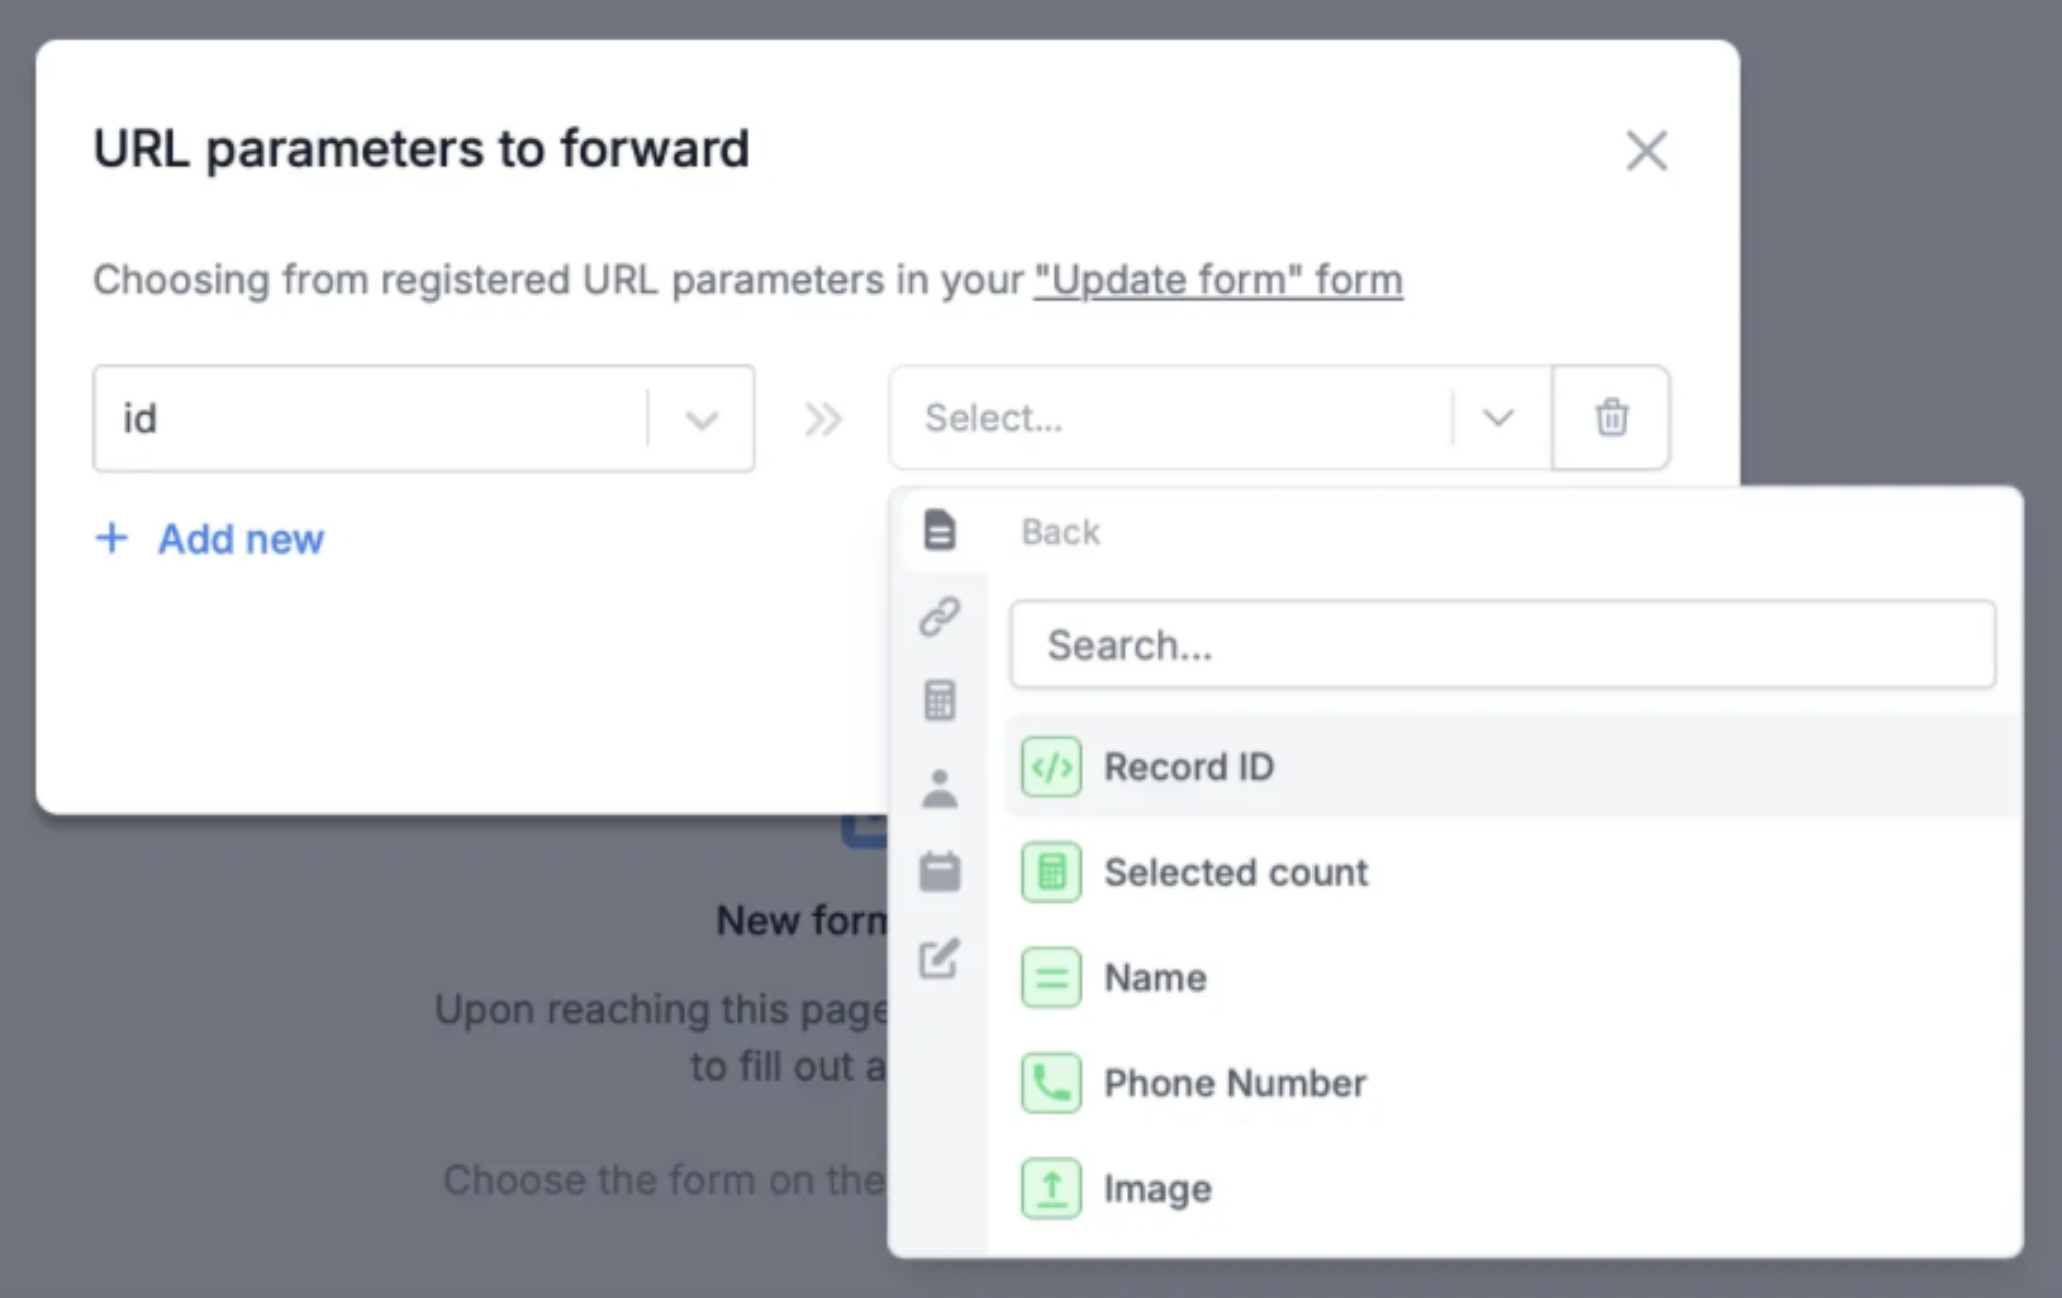
 Finally, pass the record ID to update the update form. Click `Set URL parameters` to choose the `ID` parameter of your update form and map it to your record picker field’s `Record ID`.
 **Tip:** If you don’t want to create records in your first form, you can always [set a condition](/help/conditional-integration) for when the integration is run (set a condition that is never true).
That’s it! You can now send respondents to your picker form to choose a record. Once they submit that form, they’ll be automatically redirected to the update form, which will be pre-filled with the record they chose.
## Airtable specific guides
Let users create new Airtable records from a record picker in your form.
Make a linked record picker in Fillout and filter records.
Make a Fillout form that creates multiple Airtable records in different tables.
**Tip:** If you don’t want to create records in your first form, you can always [set a condition](/help/conditional-integration) for when the integration is run (set a condition that is never true).
That’s it! You can now send respondents to your picker form to choose a record. Once they submit that form, they’ll be automatically redirected to the update form, which will be pre-filled with the record they chose.
## Airtable specific guides
Let users create new Airtable records from a record picker in your form.
Make a linked record picker in Fillout and filter records.
Make a Fillout form that creates multiple Airtable records in different tables.