> ## Documentation Index
> Fetch the complete documentation index at: https://fillout.com/help/llms.txt
> Use this file to discover all available pages before exploring further.
# How to create an Attio form
> Use a Fillout form to create Attio contacts, companies, deals and custom CRM records. Embed your forms or share them anywhere.
export const SupportBanner = () => {
const titleId = React.useId();
return ;
};
## What is Attio?
[**Attio**](https://attio.com/?ref=fillout) is a CRM platform that adapts to different business needs, effectively managing sales, customer relationships, and data. It stands out for its ease of use, strong data integration, and focus on security.
## How it works
Open the Fillout form you want to connect with Attio, then go to `Integrate` in the top menu. Click `Attio` to link your form to an object.
 Enter a `Name` for your Attio connection, then `Connect to Attio`. You will be prompted to grant access to a workspace of your choice.
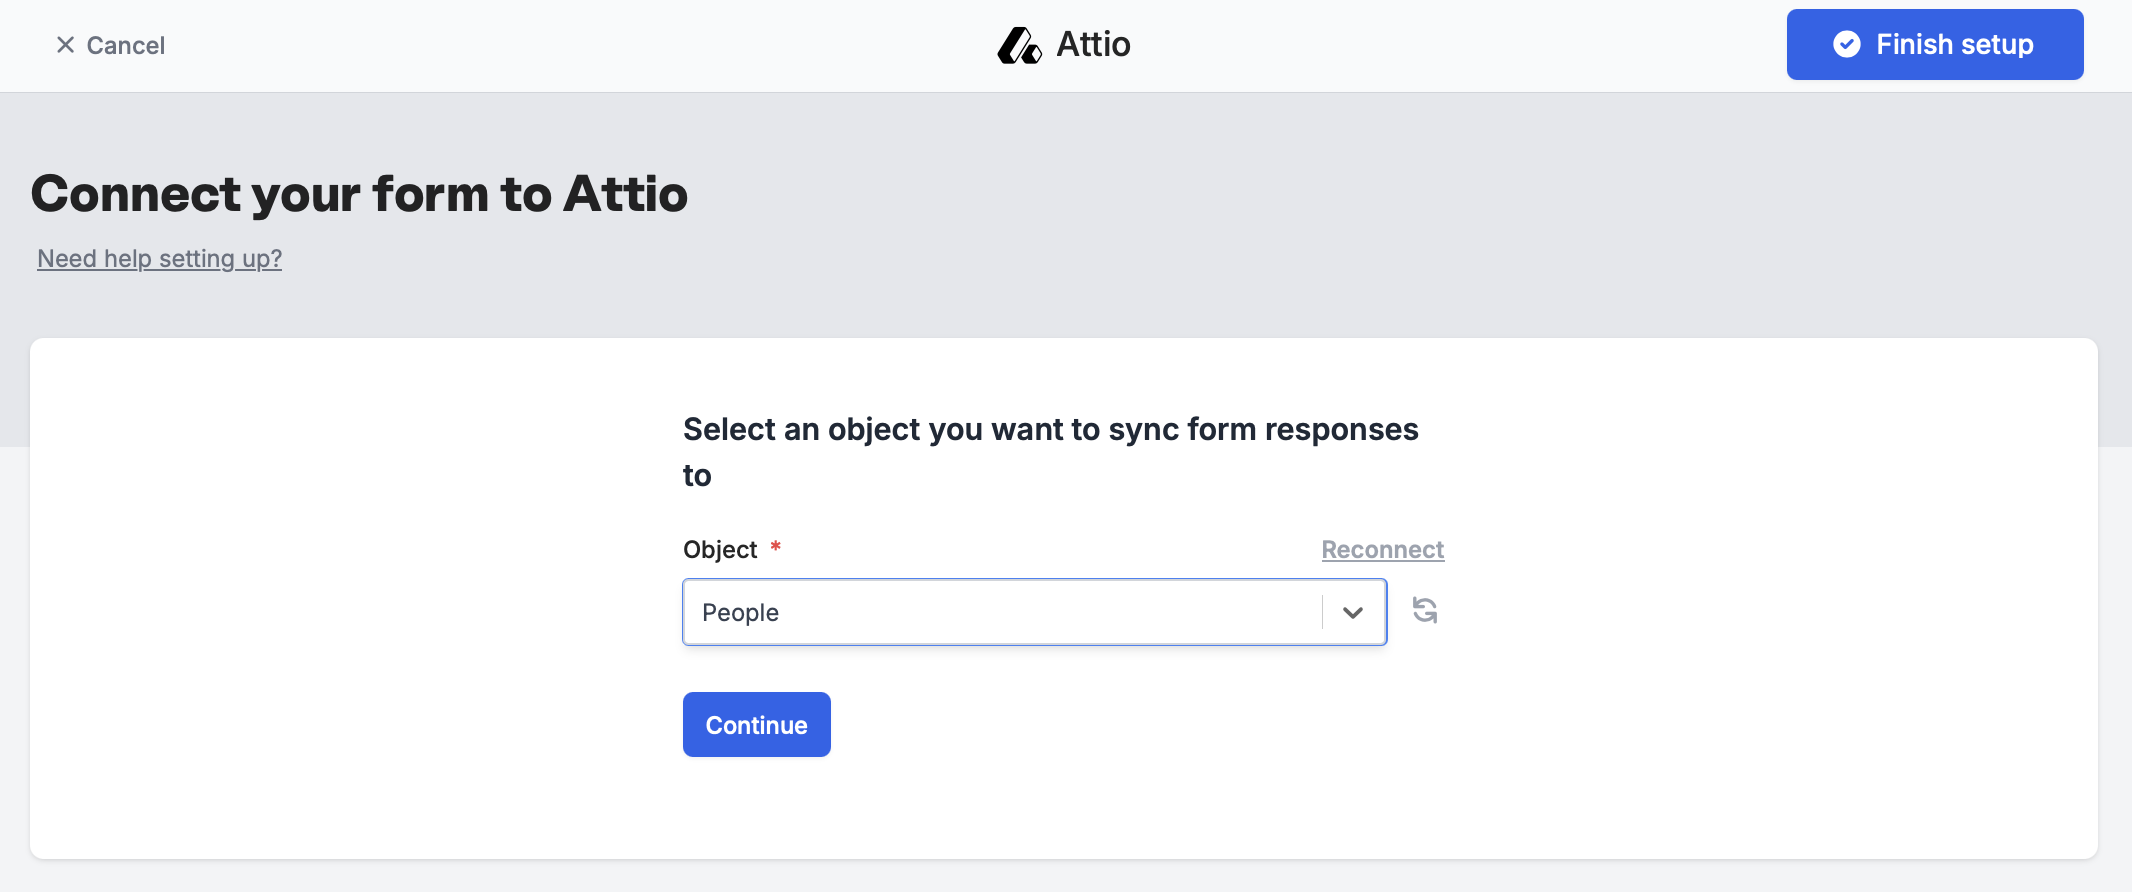
Next, select an **Object** you’d like to sync form responses to.
Enter a `Name` for your Attio connection, then `Connect to Attio`. You will be prompted to grant access to a workspace of your choice.
Next, select an **Object** you’d like to sync form responses to.
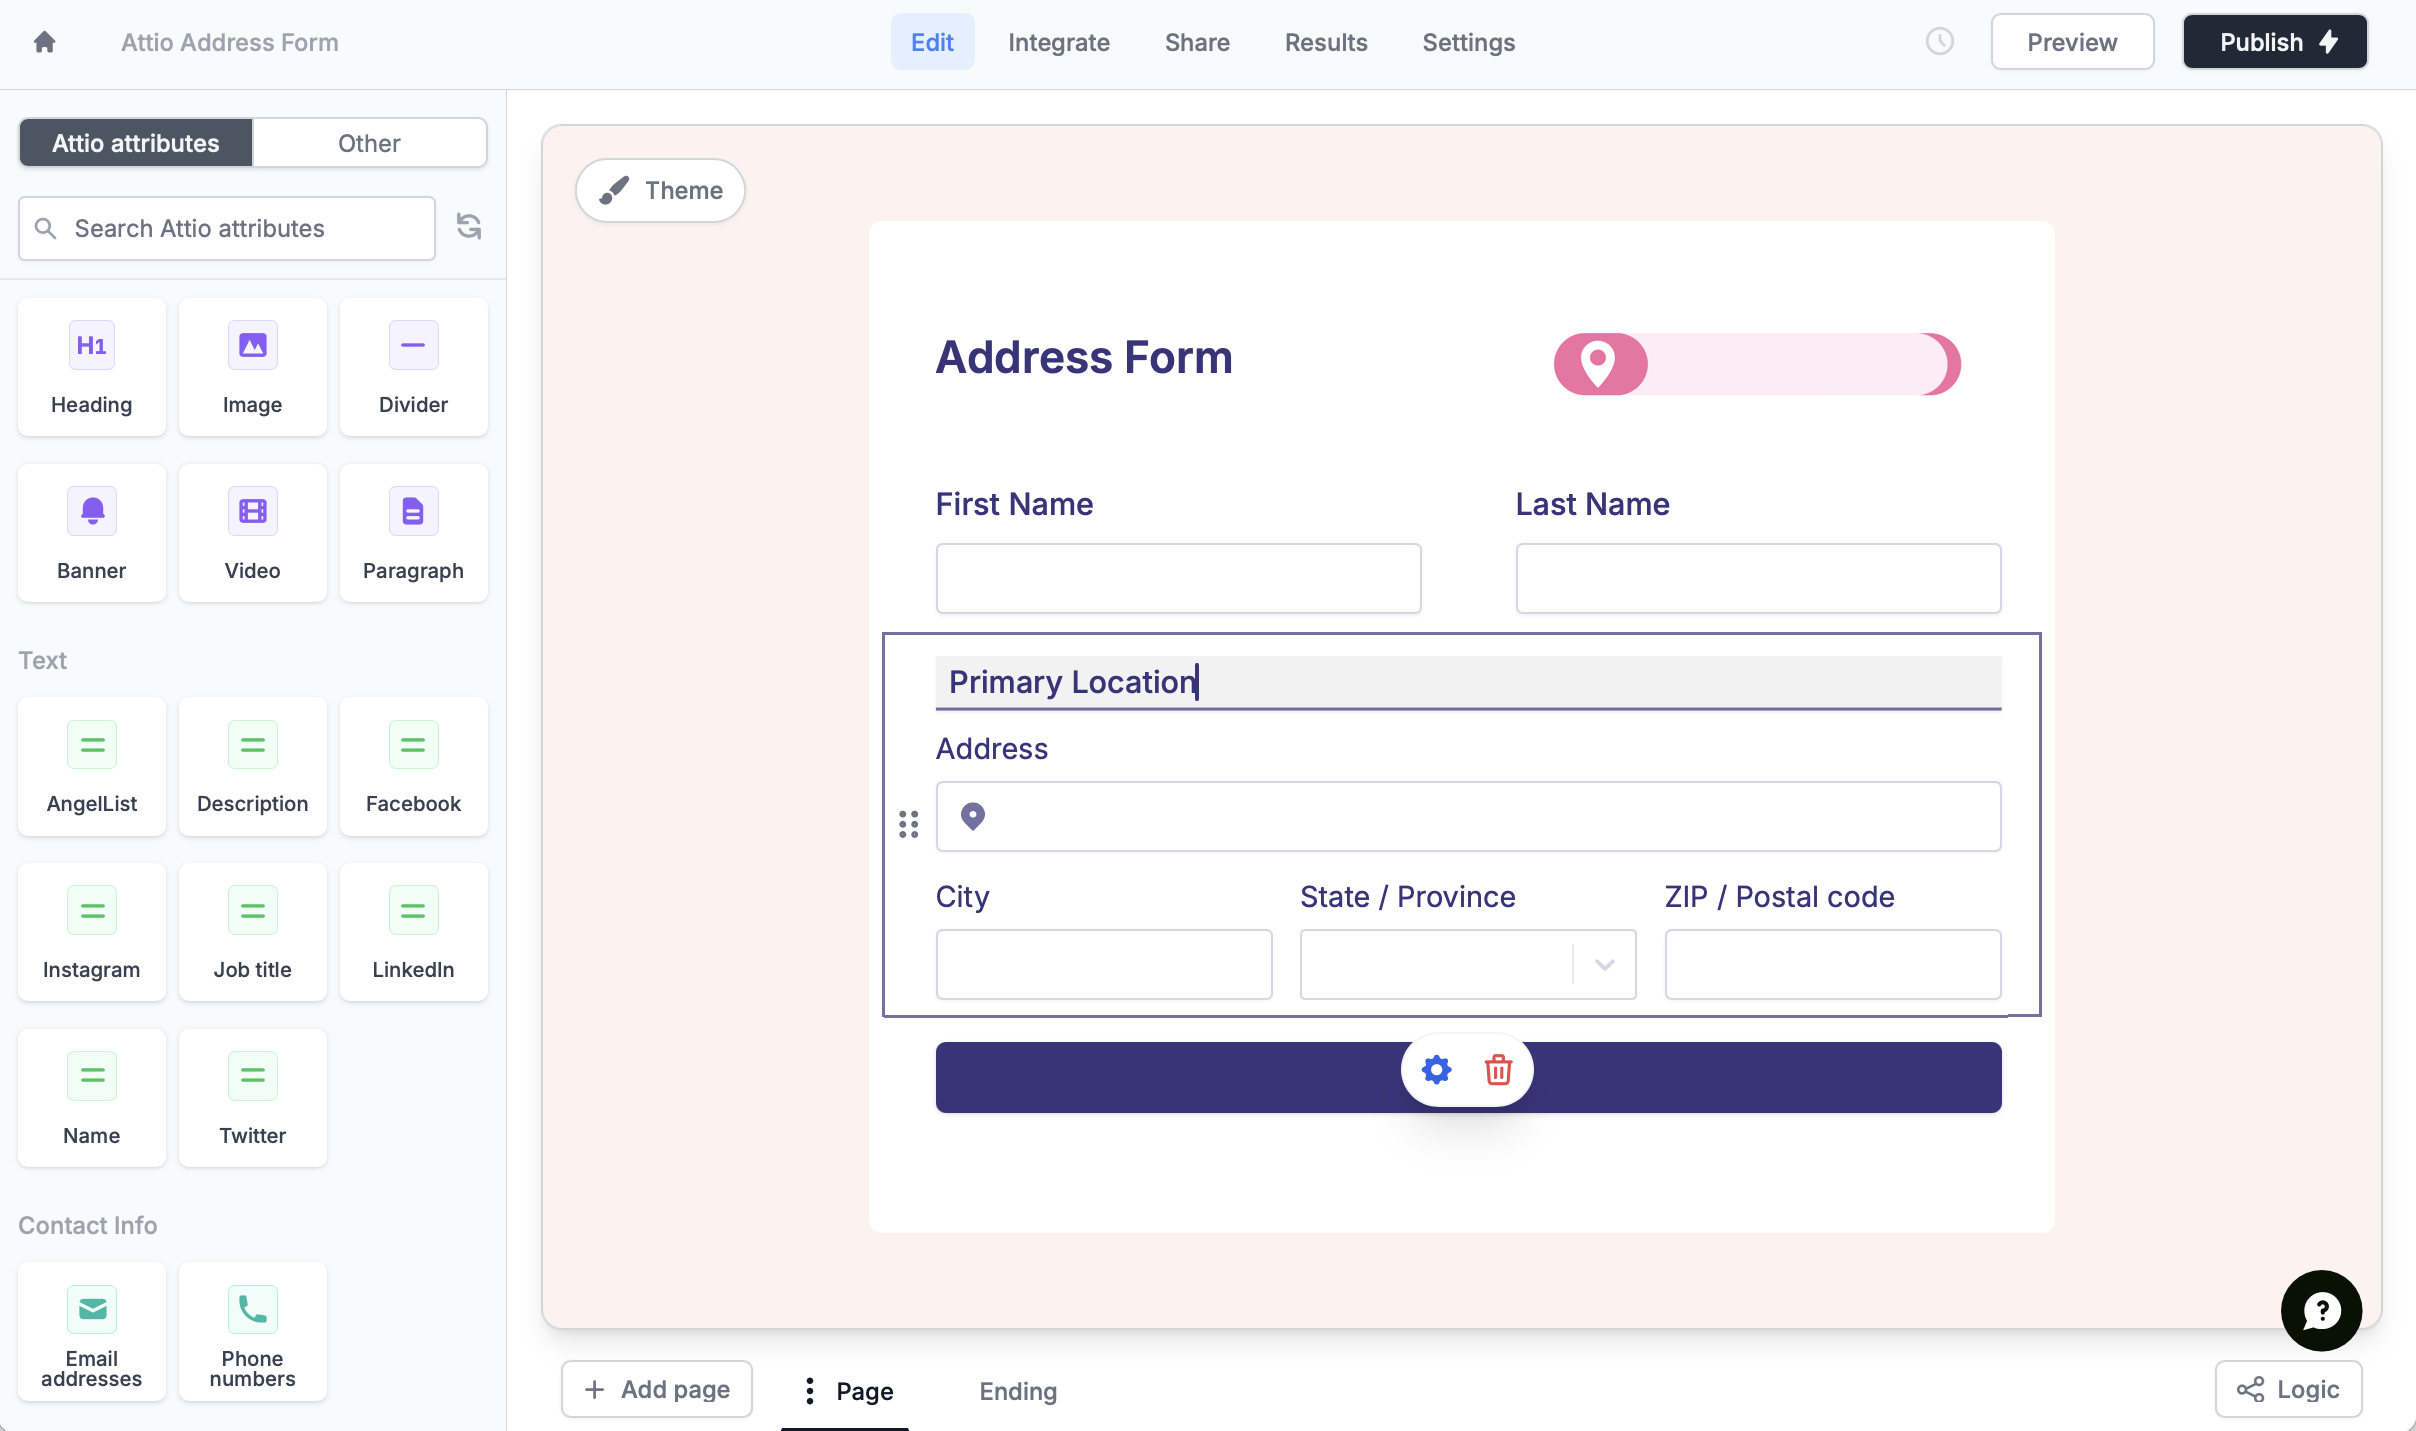
 Attio attributes will automatically show up as form fields on the left-hand panel. Simply drag them onto your form.
 Alternatively, you can [manually map](https://www.fillout.com/help/additional-integration-mappings#how-to-map-fields-manually) them in the `Integrate` page. Select the Attio attributes in the left and map it to the relevant Fillout field in the right.
 Click on the right side to have the [reflect recent changes](https://www.fillout.com/help/additional-integration-mappings#updating-fields-and-options).
`Publish` your form. Now, answers to matched fields will appear in the attributes of your record on Attio.
## Updating existing records
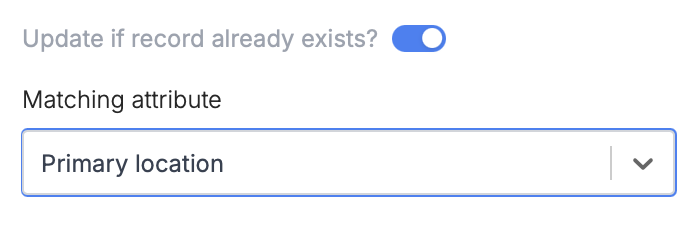
If you’d like to update existing records that already exist, just toggle `Update if record already exists?` under **Mappings**. Then, choose which attribute you’d like to use to determine the record to update.
Click on the right side to have the [reflect recent changes](https://www.fillout.com/help/additional-integration-mappings#updating-fields-and-options).
`Publish` your form. Now, answers to matched fields will appear in the attributes of your record on Attio.
## Updating existing records
If you’d like to update existing records that already exist, just toggle `Update if record already exists?` under **Mappings**. Then, choose which attribute you’d like to use to determine the record to update.
 ## Specify a condition
You can run your integration only when a specific condition is met. Check out this [guide](/help/conditional-integration).
## Other similar integrations
Create or update contacts with a form.
Use a form to create or update Notion databases.
Edit existing records and pre-fill fields.
## Specify a condition
You can run your integration only when a specific condition is met. Check out this [guide](/help/conditional-integration).
## Other similar integrations
Create or update contacts with a form.
Use a form to create or update Notion databases.
Edit existing records and pre-fill fields.